Published: May 10, 2026 by Kwantae Kim
Top
Others
-
Editing LaTeX Locally
Verified with MacOS
I have been using Overleaf for a long time, but I also wanted to edit documents locally — without opening a browser, even on an airplane. In fact, Overleaf does not natively support public AI integration like Claude Code and Codex, so the only way is to run LaTeX locally on my own machine.
This post is a quick start of what I have been using on MacOS.
MacTeX
First, install MacTeX (not TeX Live). Next, install LaTeX Workshop from the VS Code Extensions tab.
One important note — do not install the vscode-pdf extension. It conflicts with LaTeX Workshop and the PDF viewer keeps breaking.
If your PDF is not showing or the viewer is stuck at any point, open the Command Palette with Cmd + Shift + P and run Reload Window. This brings it back most of the time.
VS Code
I recommend creating a new VS Code profile dedicated to LaTeX. Otherwise, different extensions (e.g., markdown editing) can conflict with your LaTeX setup.
Follow the steps introduced in the above video to create a new profile (from 1:27 to 2:16).
Open your JSON settings file in VS Code and add the following. Note that VS Code must be restarted after editing settings.json for the changes to take effect:
{
  "editor.formatOnSave": true,
  "latex-workshop.latex.outDir": "%DIR%/tmp",
  "latex-workshop.latex.autoClean.run": "onBuilt",
  "latex-workshop.view.pdf.viewer": "tab",
  "latex-workshop.synctex.afterBuild.enabled": true
}
These five lines do the following:
- Reformats
.texon save. - Redirects outputs (
.pdf,.aux,.log, etc.) to a./tmpfolder for a clean working directory. - Cleans up artifacts after every successful build.
- Opens the compiled PDF as a VS Code tab next to your source.
- Jumps the PDF viewer to the spot matching your cursor after each build (SyncTeX).
Formatter
To get the actual formatting working on save, install latexindent through Homebrew:
brew install latexindent
Then add one more line to your JSON settings file:
{
  "latex-workshop.formatting.latex": "latexindent"
}
Now Cmd + S reformats your LaTeX file every time you save.
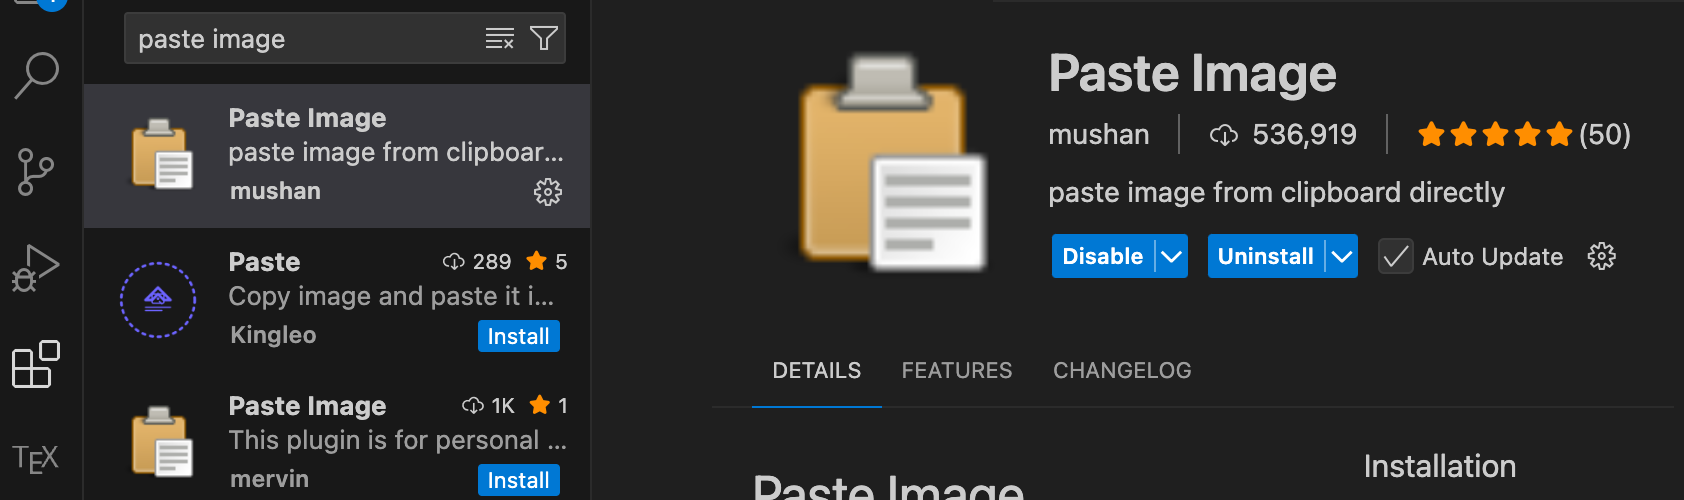
Paste Image
Another extension I recommend is Paste Image by mushan, which lets you paste images directly from your clipboard into your .tex file. Search for paste image in the VS Code Extensions tab.
Add the following to your JSON settings file:
{
  "pasteImage.path": "${currentFileDir}/images",
  "pasteImage.basePath": "${currentFileDir}",
  "pasteImage.defaultName": "${currentFileNameWithoutExt}-HH-mm-ss",
  "pasteImage.showFilePathConfirmInputBox": true,
  "pasteImage.filePathConfirmInputBoxMode": "onlyName",
  "pasteImage.encodePath": "none",
  "pasteImage.insertPattern": "\\begin{center}\n\t\t\\includegraphics[width=\\linewidth]{images/${imageFileName}}\n\t\\end{center}"
}
These seven lines do the following:
- Saves the pasted image into an
images/subfolder next to your.texfile. - Sets
${currentFileDir}as the base for relative paths in the inserted text. - Names files as
<parent-file>-HH-mm-ssby default. - Pops up a confirmation dialog before saving so you can rename the file.
- Shows only the filename in the confirmation dialog (not the full path).
- Skips URL encoding so spaces and special characters stay readable.
- Inserts a centered LaTeX figure block referencing
images/<filename>at your cursor.
To use Paste Image, open the Command Palette: Cmd + Shift + P → type Paste Image → Enter. Or right-click in the editor and select Paste Image.