Published: May 25, 2024 by Kwantae Kim
Top
Open Source Chip Design
Getting Started
Install Open Source Tools
- Integrating Jupyter Notebook in VS Code
-
Setting Up Open Source Tools with Docker
- Seamless Host-Side Control of Docker
Try It Out
Initial version: May 1, 2023
Verified with Windows
Verified with MacOS
We can run place-and-route (PnR) and arrive GDS file generation as introduced in this post, using open-source chip design tool with Python scripts, in Google Colab environment.
In this post, I am going to share a GUI-based tool setup, more familiar with analog circuit designers.
A research team led by Harald Pretl from Johannes Kepler University (JKU) developed a Docker container, IIC-OSIC-TOOLS. Using this container, we can easily setup open-source tools and access to it through Virtual Network Computing (VNC).
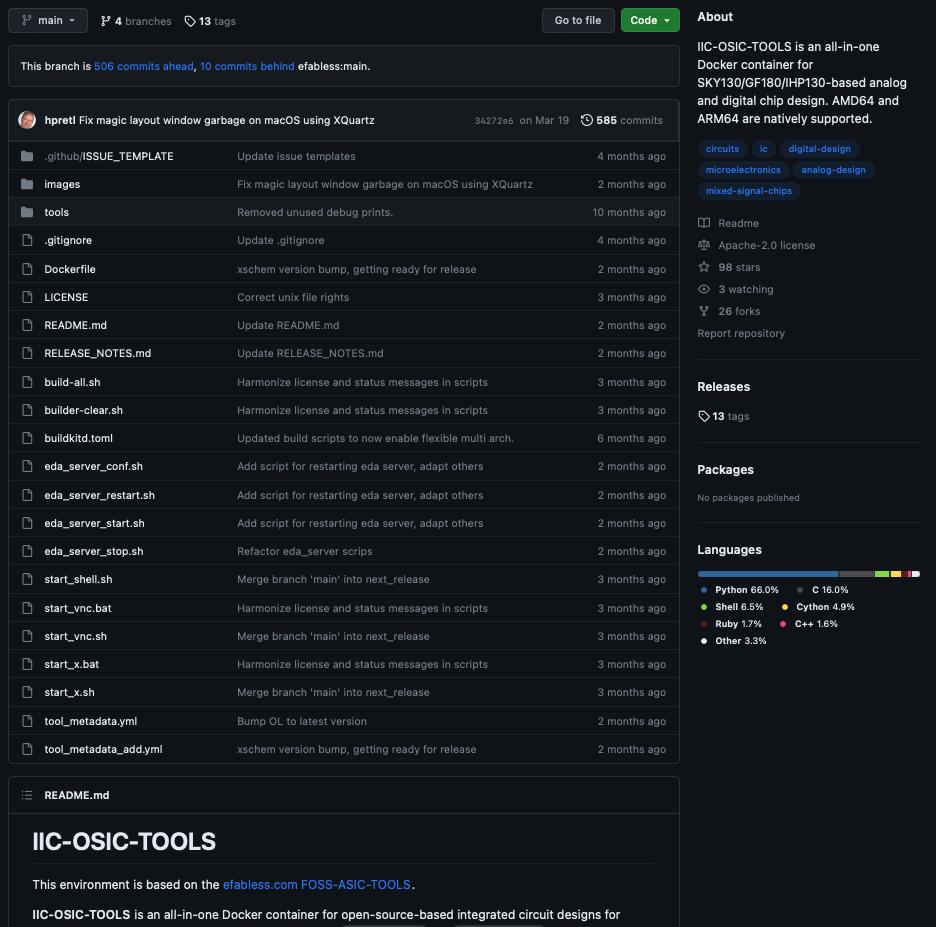
If you nagivate to the IIC-OSIC-TOOLS Github page, and you are completely new to Git or Github usage, you will probably feel lost or confused about what to do first ..
Um .. so .. what should I do?

In MacOS
Verified with Apple M2 Air laptop
Docker
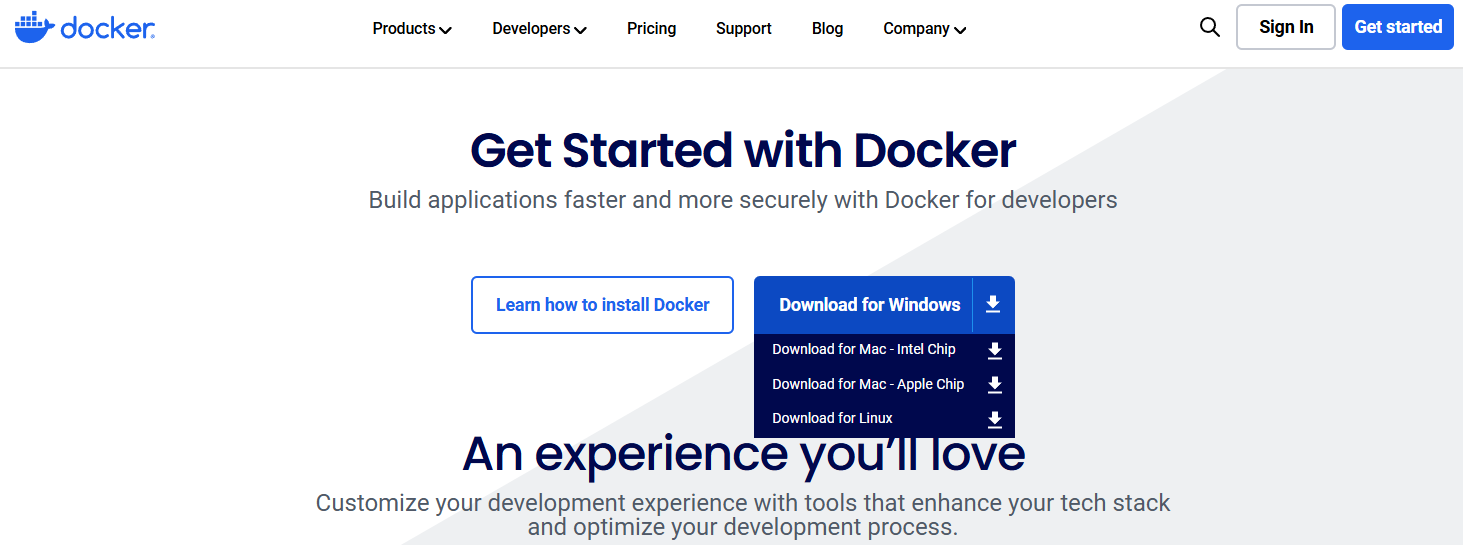
You need to install the Docker first to use the Docker Container. Nagivate to Docker webpage, and move to Get Started link on the upperright corner.
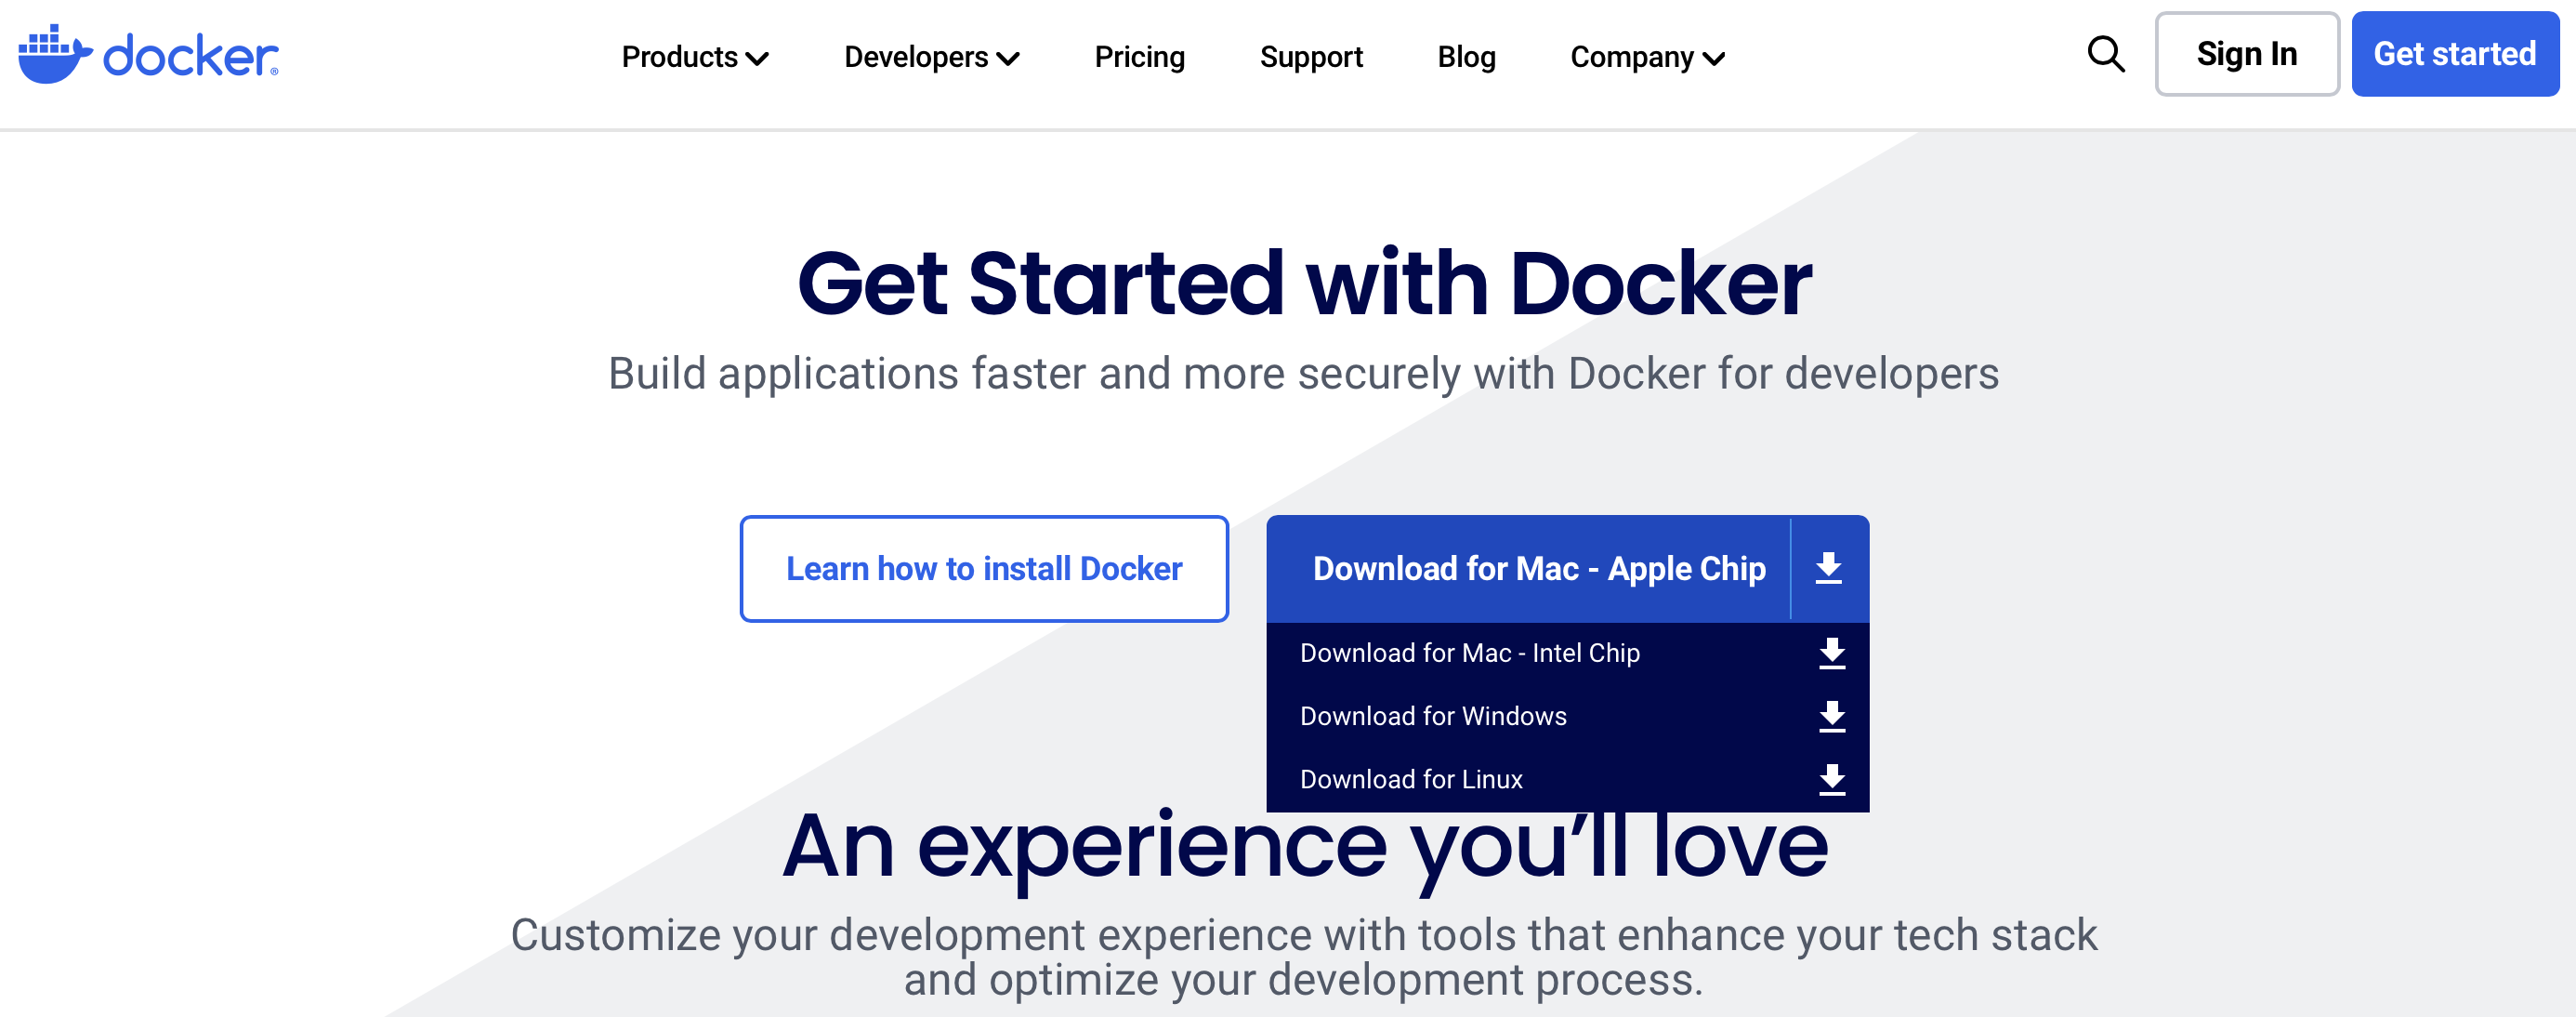
If you are using Apple Silicon MacOS, install Apple Chip version like above.
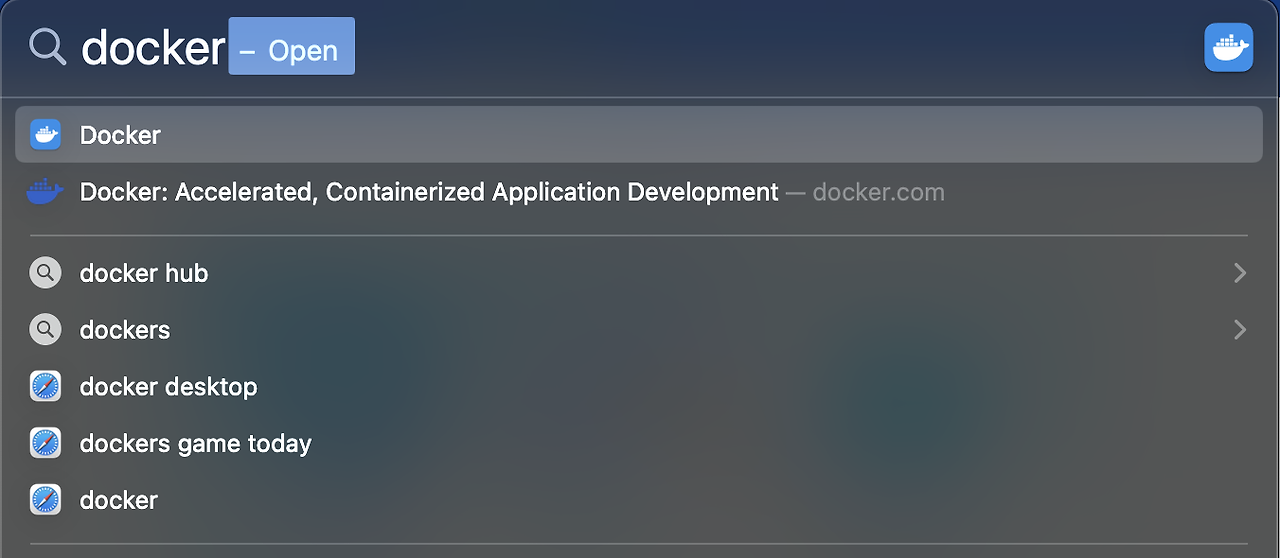
If you installed it, open the Docker app with spotlight (⌘ + Space).
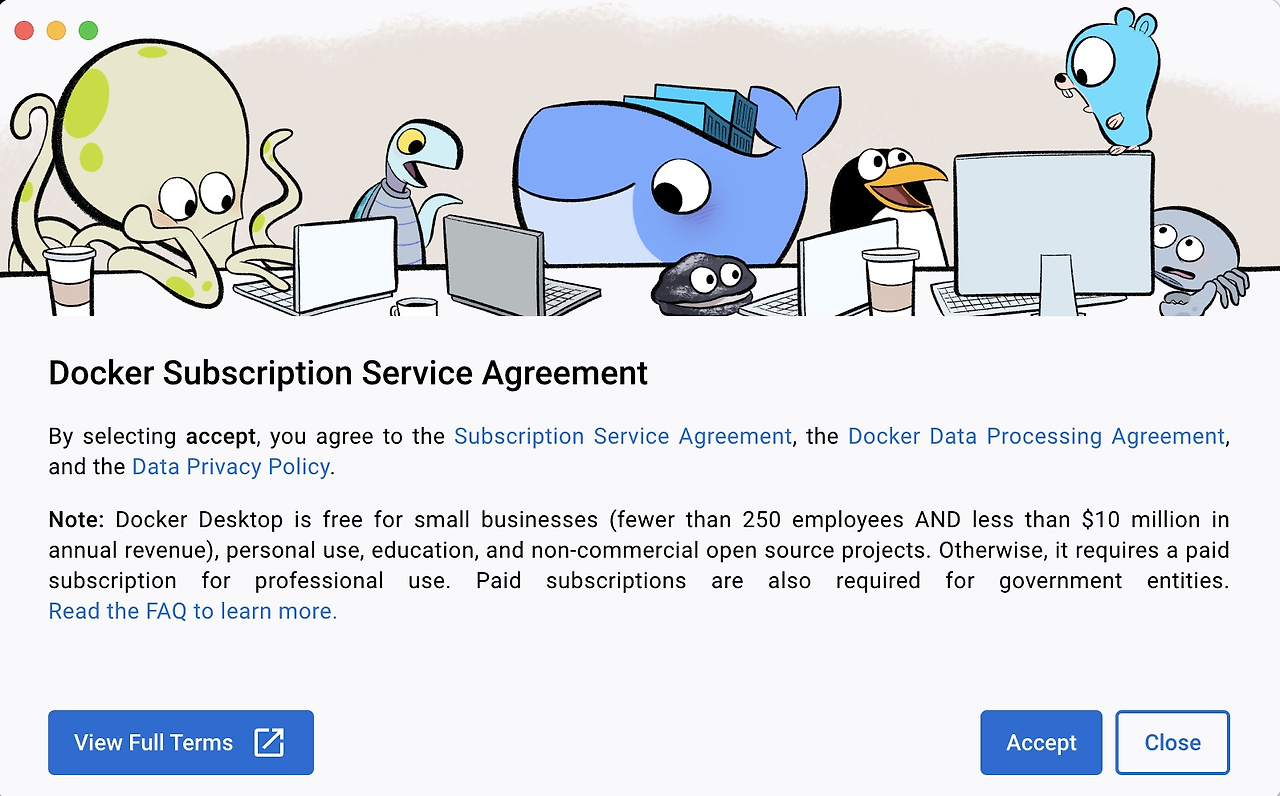
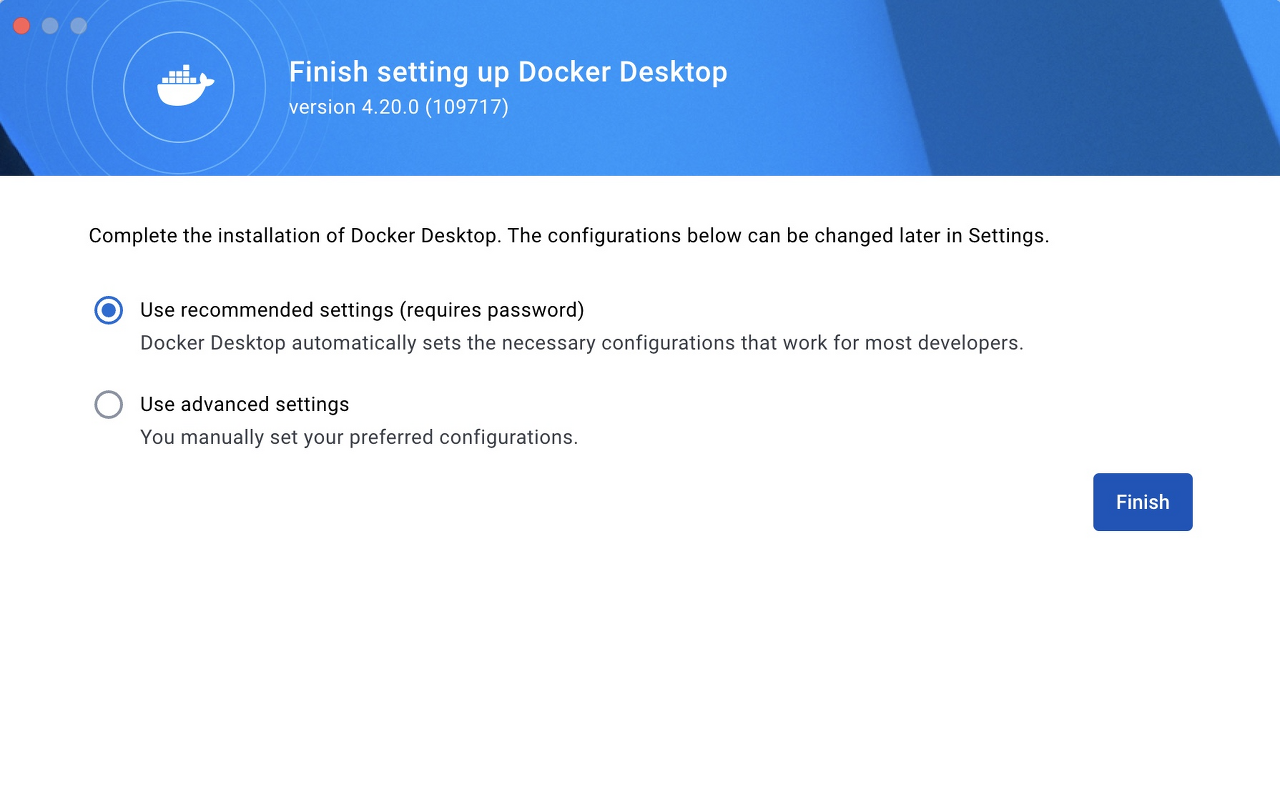

Go through Accept → Finish → Skip.
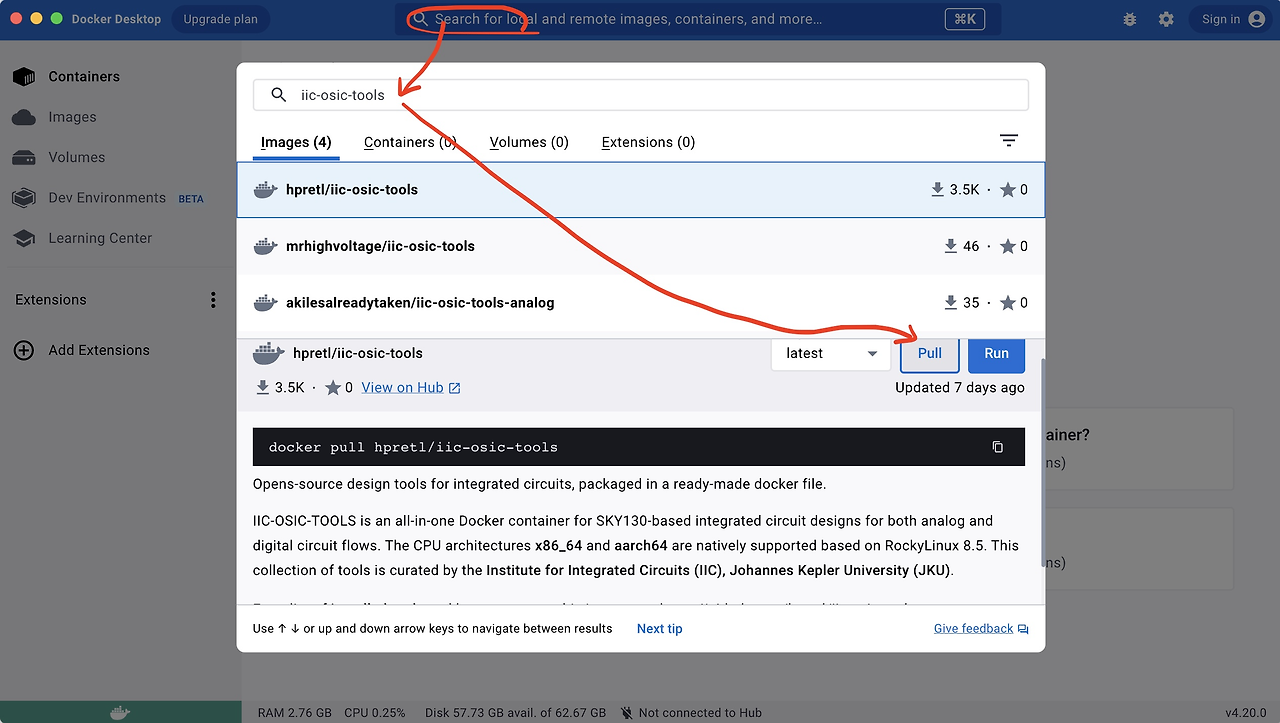
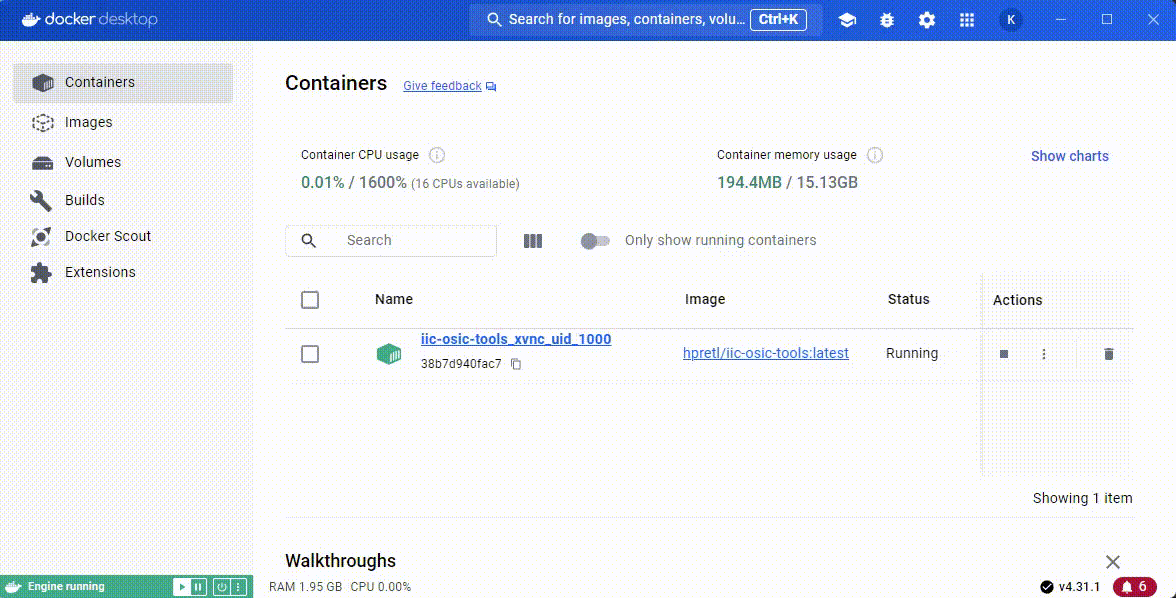
Find the top Search Bar in Docker app, search iic-osic-tools (with hpretl prefix), and click Pull button.
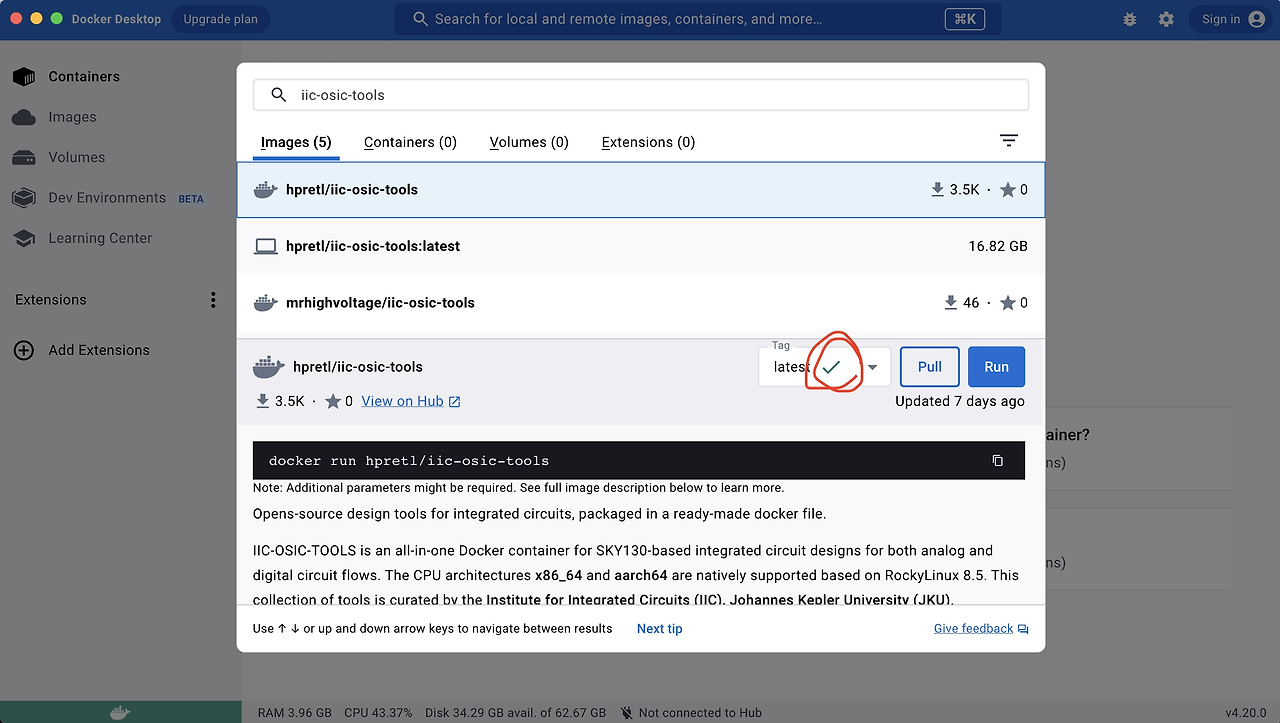
Upon the complete Pull process, you can find a green check mark.
VS Code
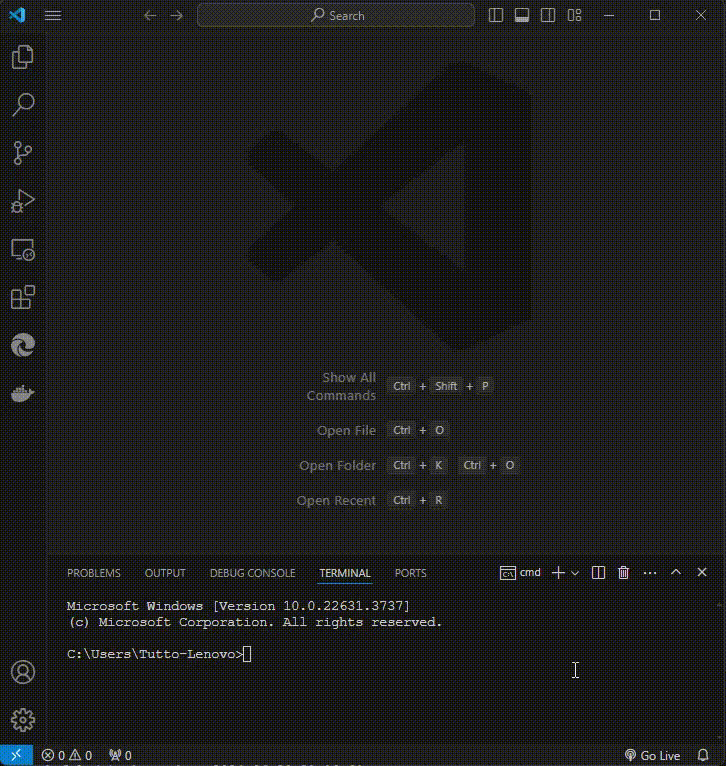
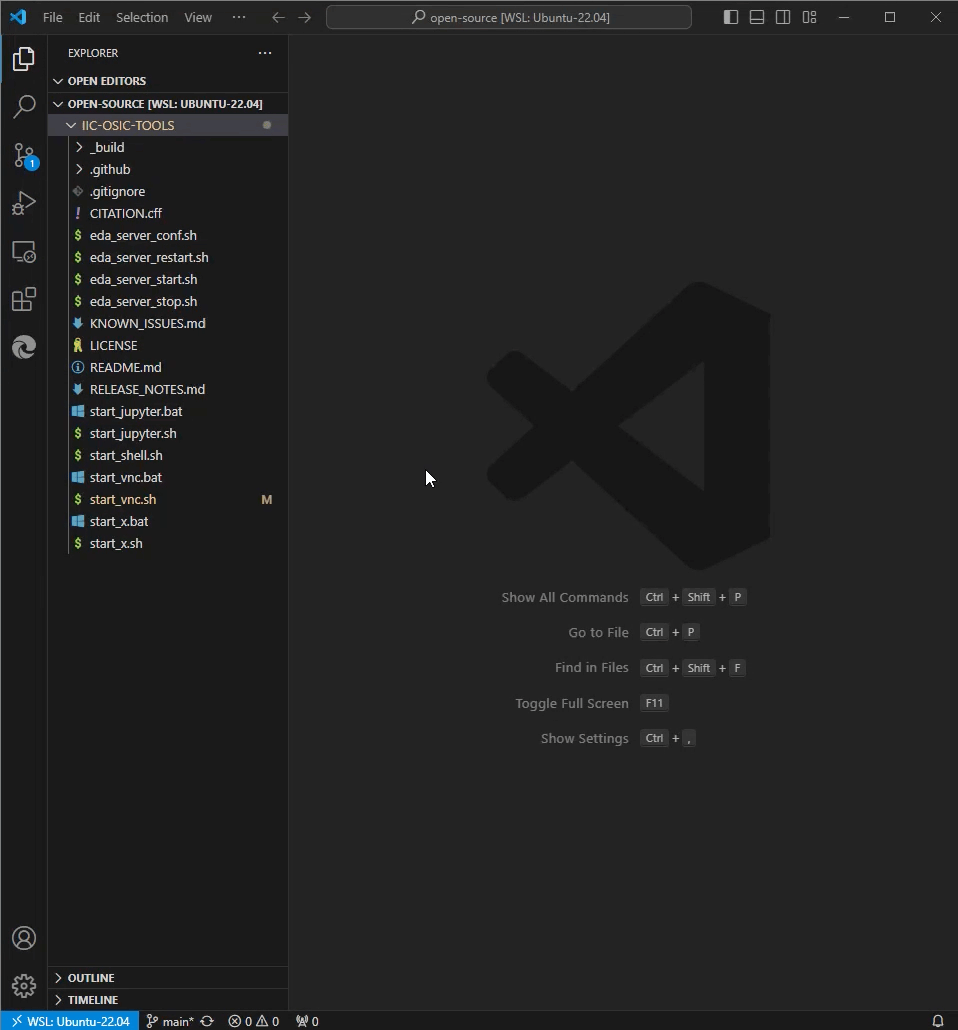
Next, install VS Code using This Link. VS Code is quite useful and needed because you have to work with terminals, manage files, edit files, and run Python codes in Jupyter Notebook, which are all possible in a single program!
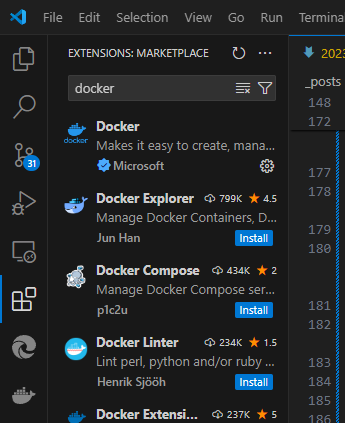
Open VS Code. Go Extensions (on the left panel), search Docker, and install it. Upon installation, you will see icon at the bottom of the left panel like the below screenshot.
XQuartz
Next, we need to enable the X11 Forwarding. The above video clearly explains what is the basic concept of X11 forwarding.
Follow the steps introduced in the above video and install XQuartz (from 1:51 to 2:40).
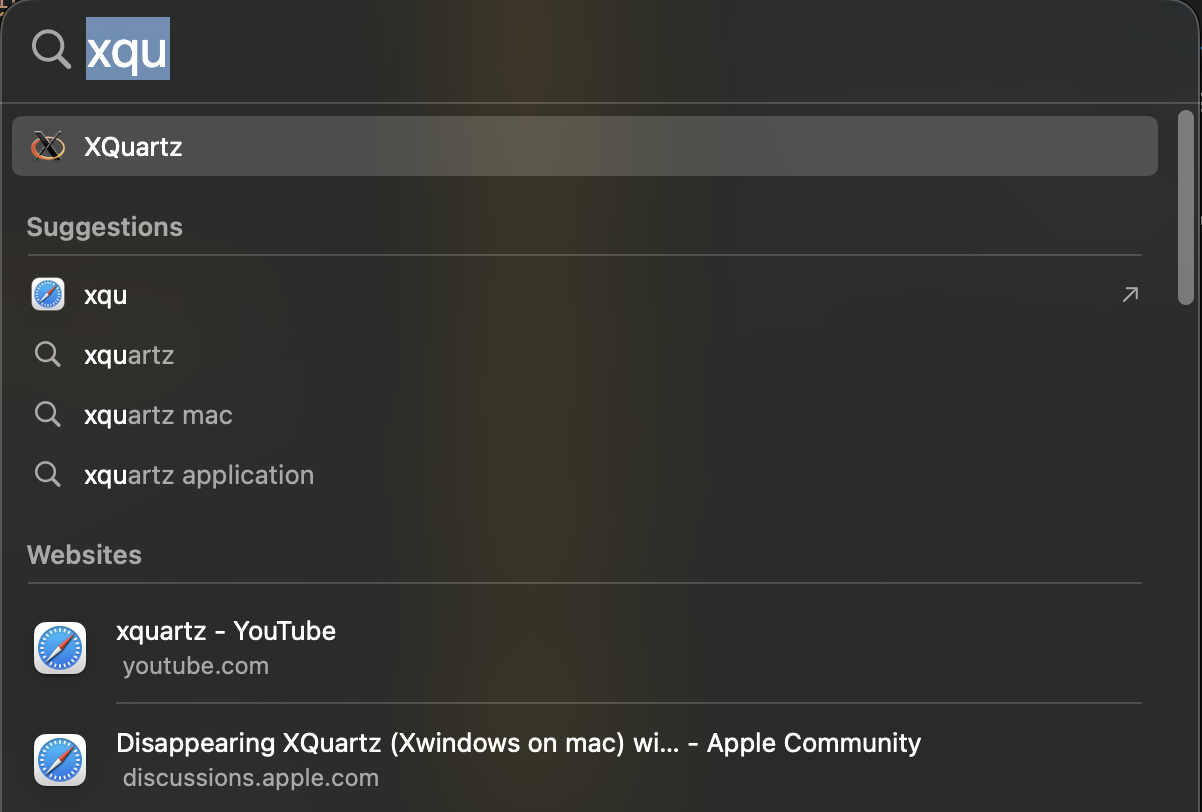
Upcom installation, open XQuartz with spotlight (⌘ + Space), and execute:
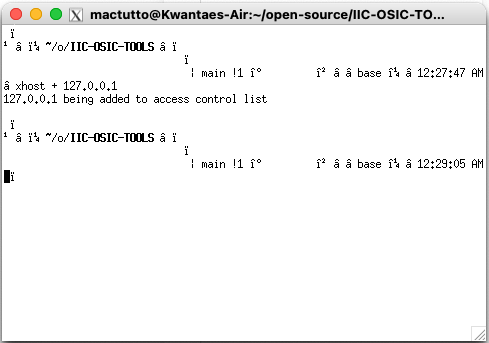
xhost + 127.0.0.1
on XQuartz terminal to allow network connections.
Then you will get the output of “127.0.0.1 being added to access control list”.
The fonts will be broken in XQuartz terminal if you are using custom styling on your terminal (ex. oh-my-zsh) but it is not a big problem and thus you can ignore it.
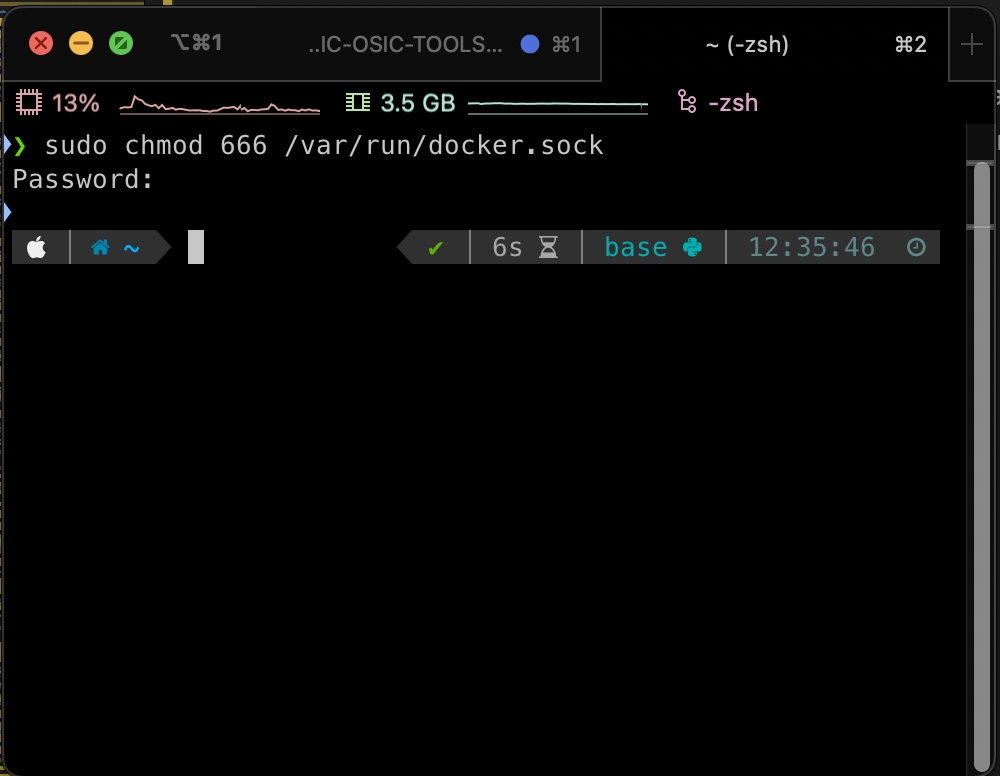
In addition, run:
sudo chmod 666 /var/run/docker.sock
on your terminal to make sure the Docker can run on our terminal.
Git
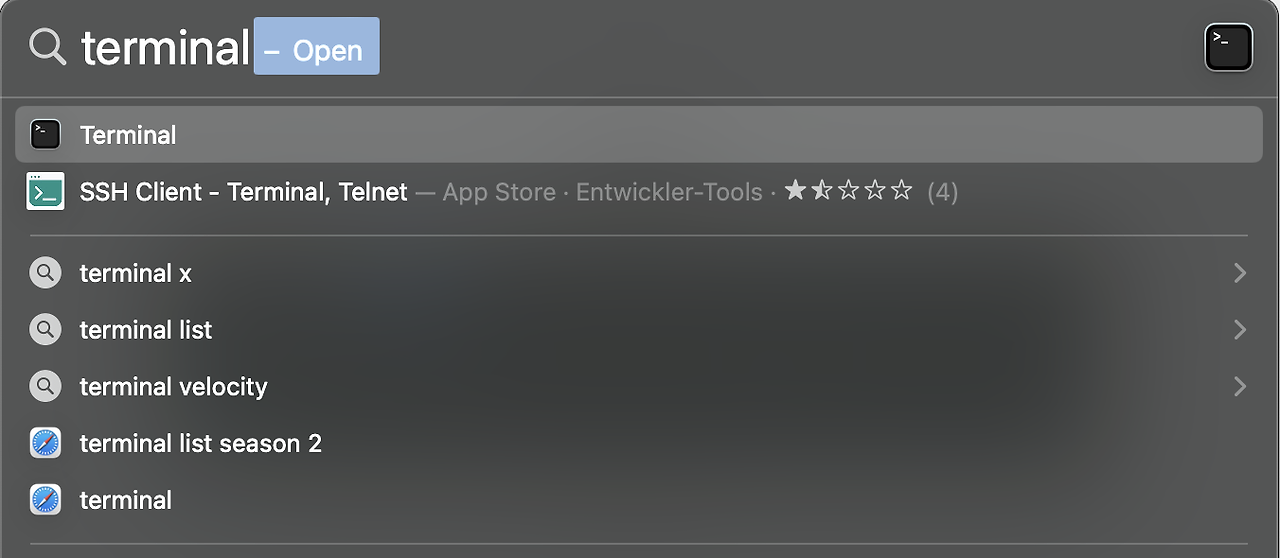
Open terminal using spotlight (⌘ + Space), and execute:
which git
to check whether your MacOS has Git installed.
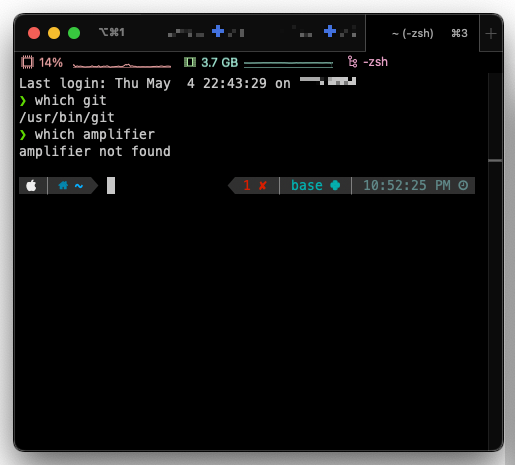
Like above, if you can find the path like /usr/bin/git, then it means you have Git installed.
If the terminal prints ~ not found, then it means you do not have Git on your OS. In this cas, please install it by searching git install macos or similar words in Google (you can also ask to ChatGPT for sure).

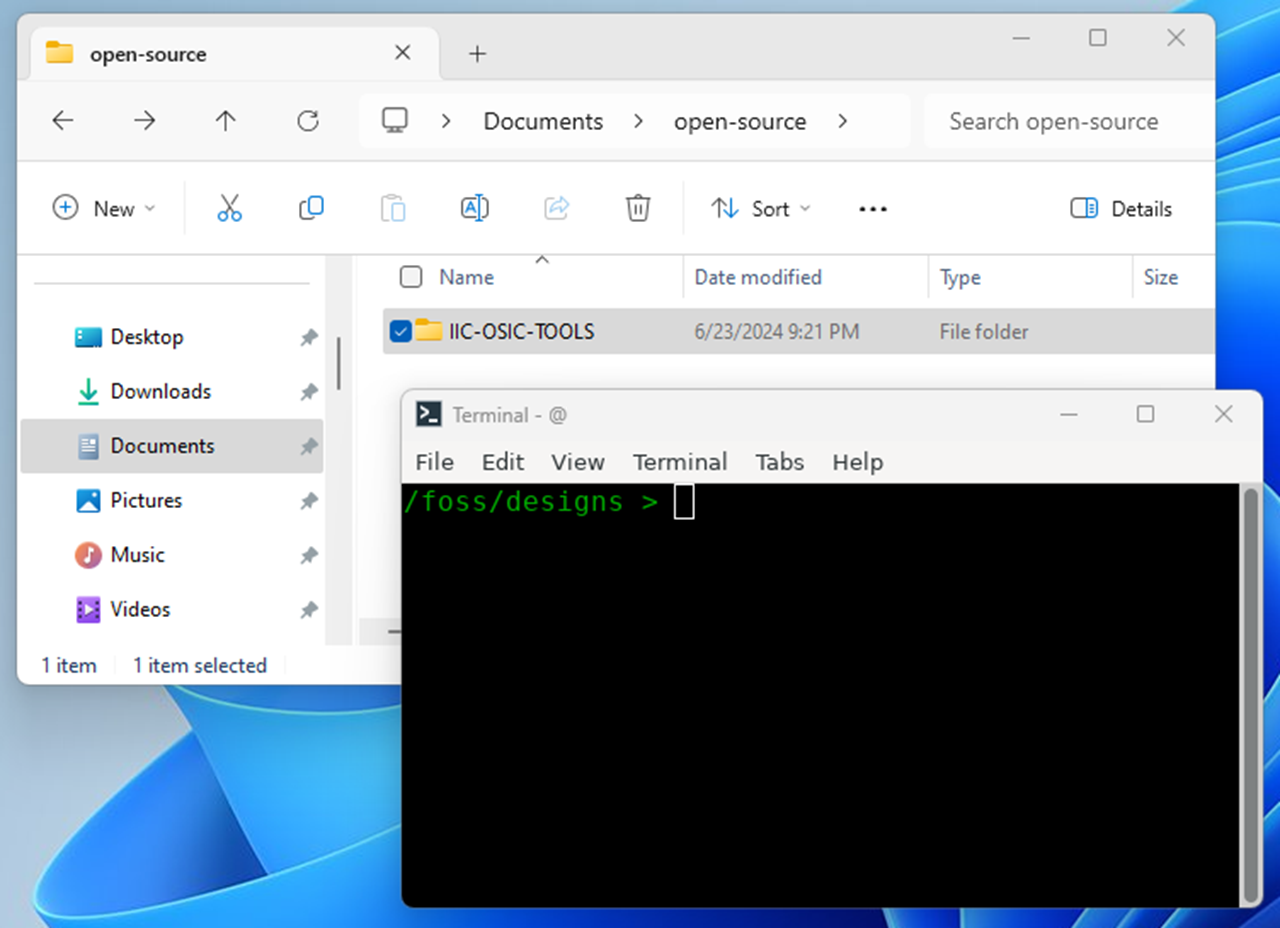
Use mkdir to make a directory of open-source and use cd to move to open-source directory.
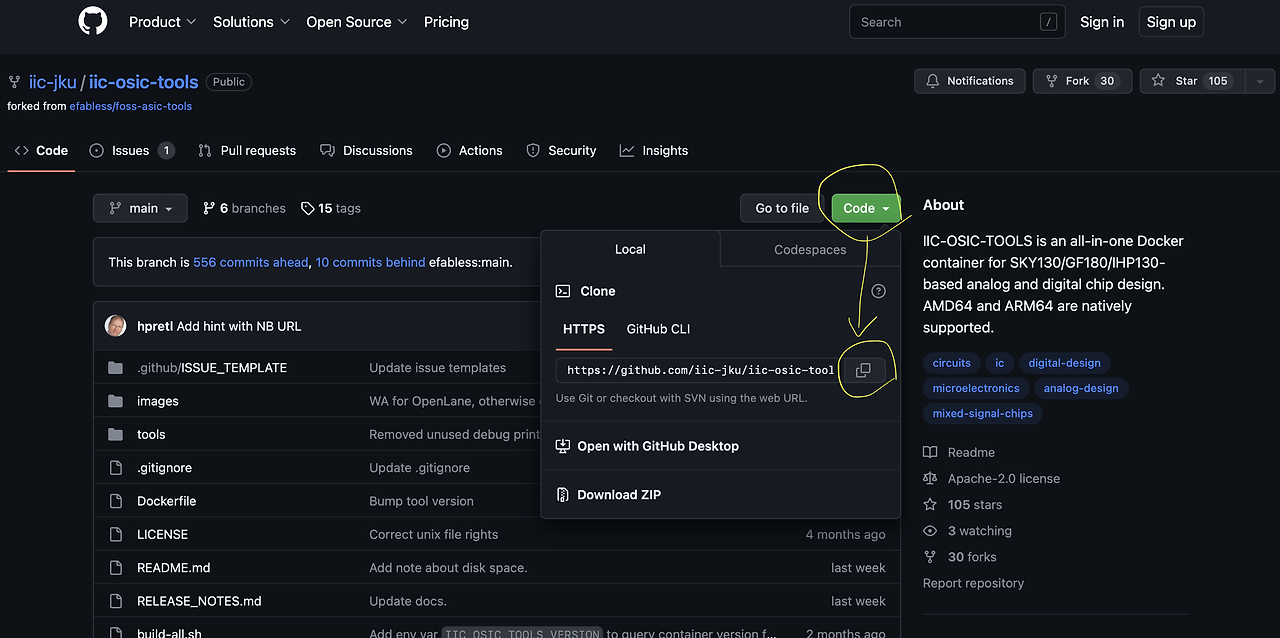
Navigate to the IIC-OSIC-TOOLS Github page and find Code → Copy button.
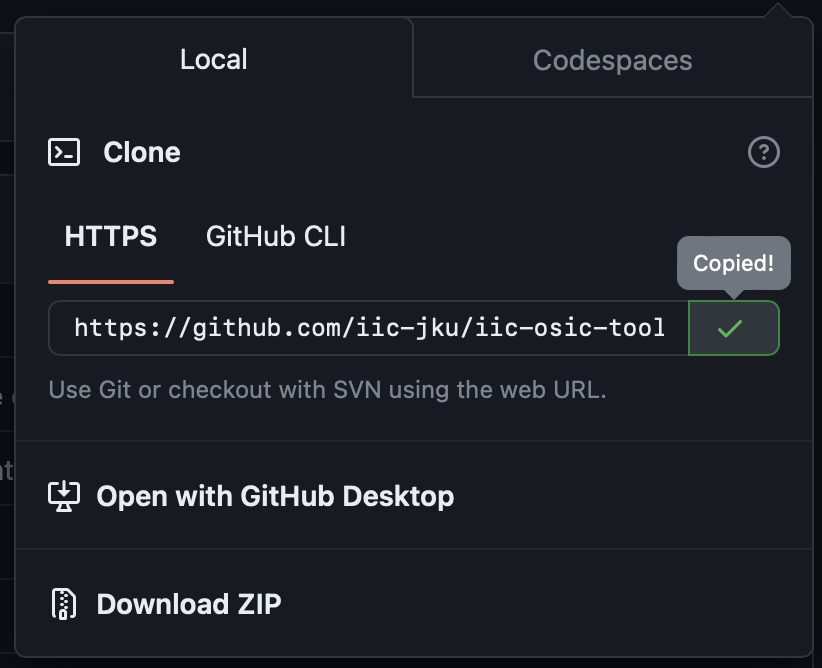
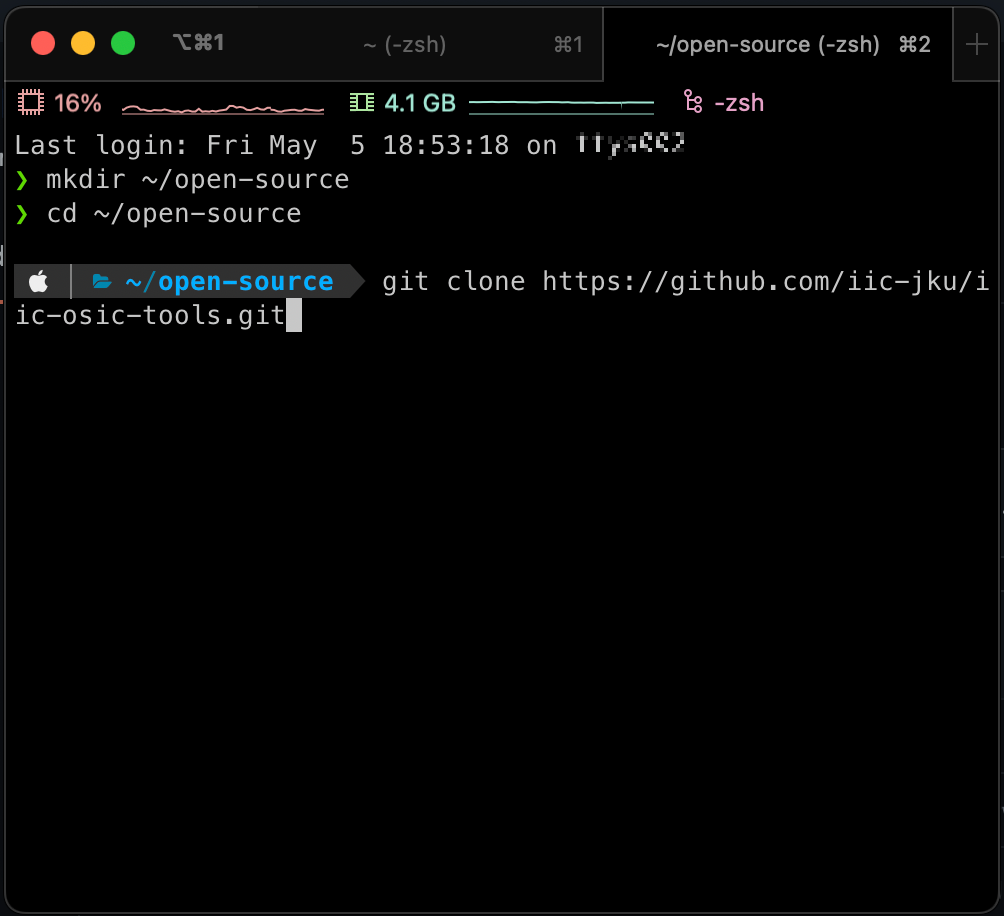
Paste the copied URL after git clone like above screenshot. Here, git clone is something similar concept of Download more or less. You can use ⌘ + V command for pasting into MacOS terminal.
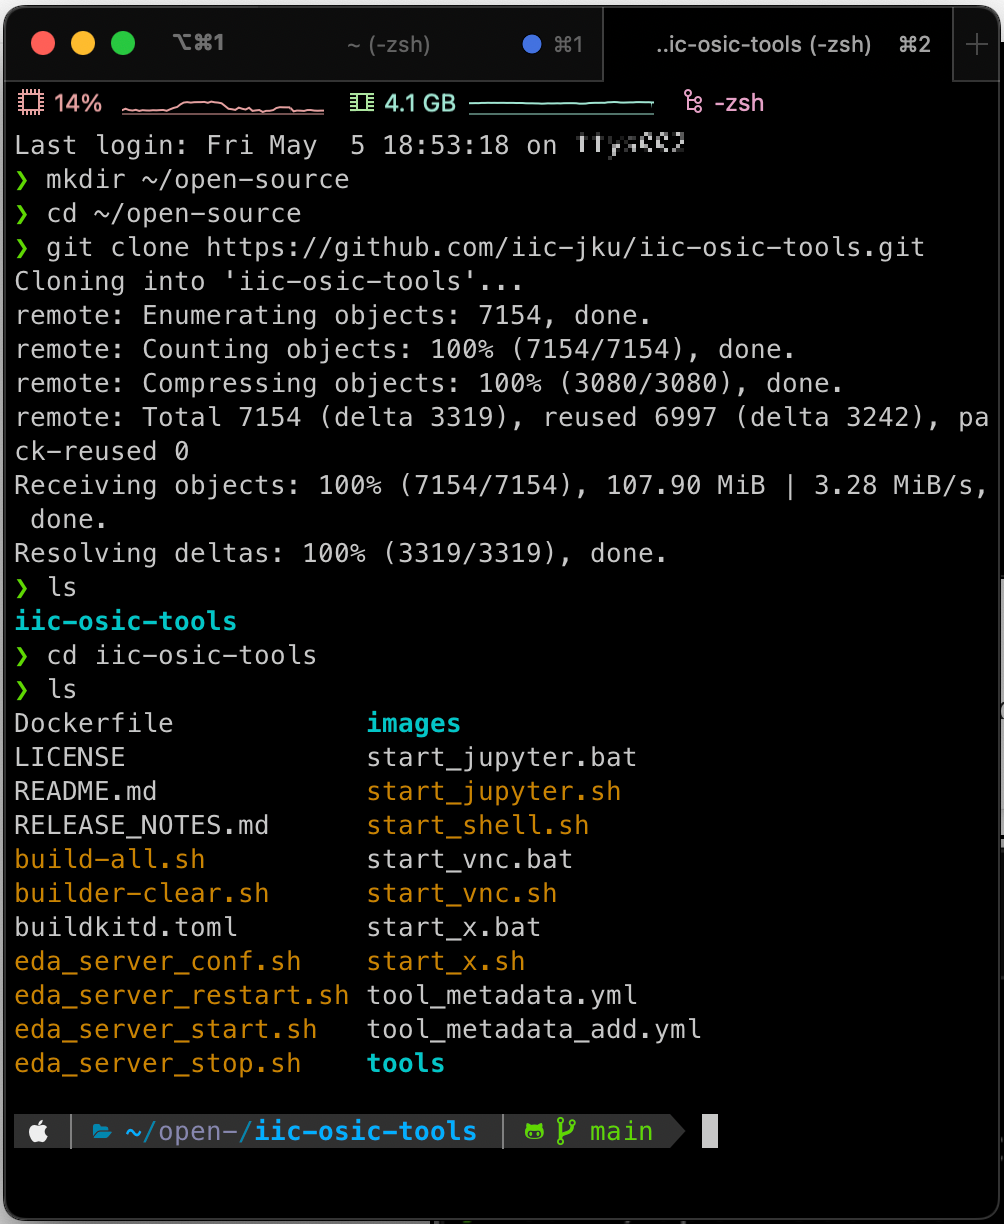
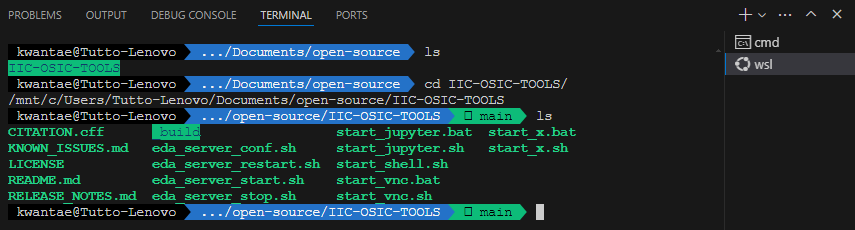
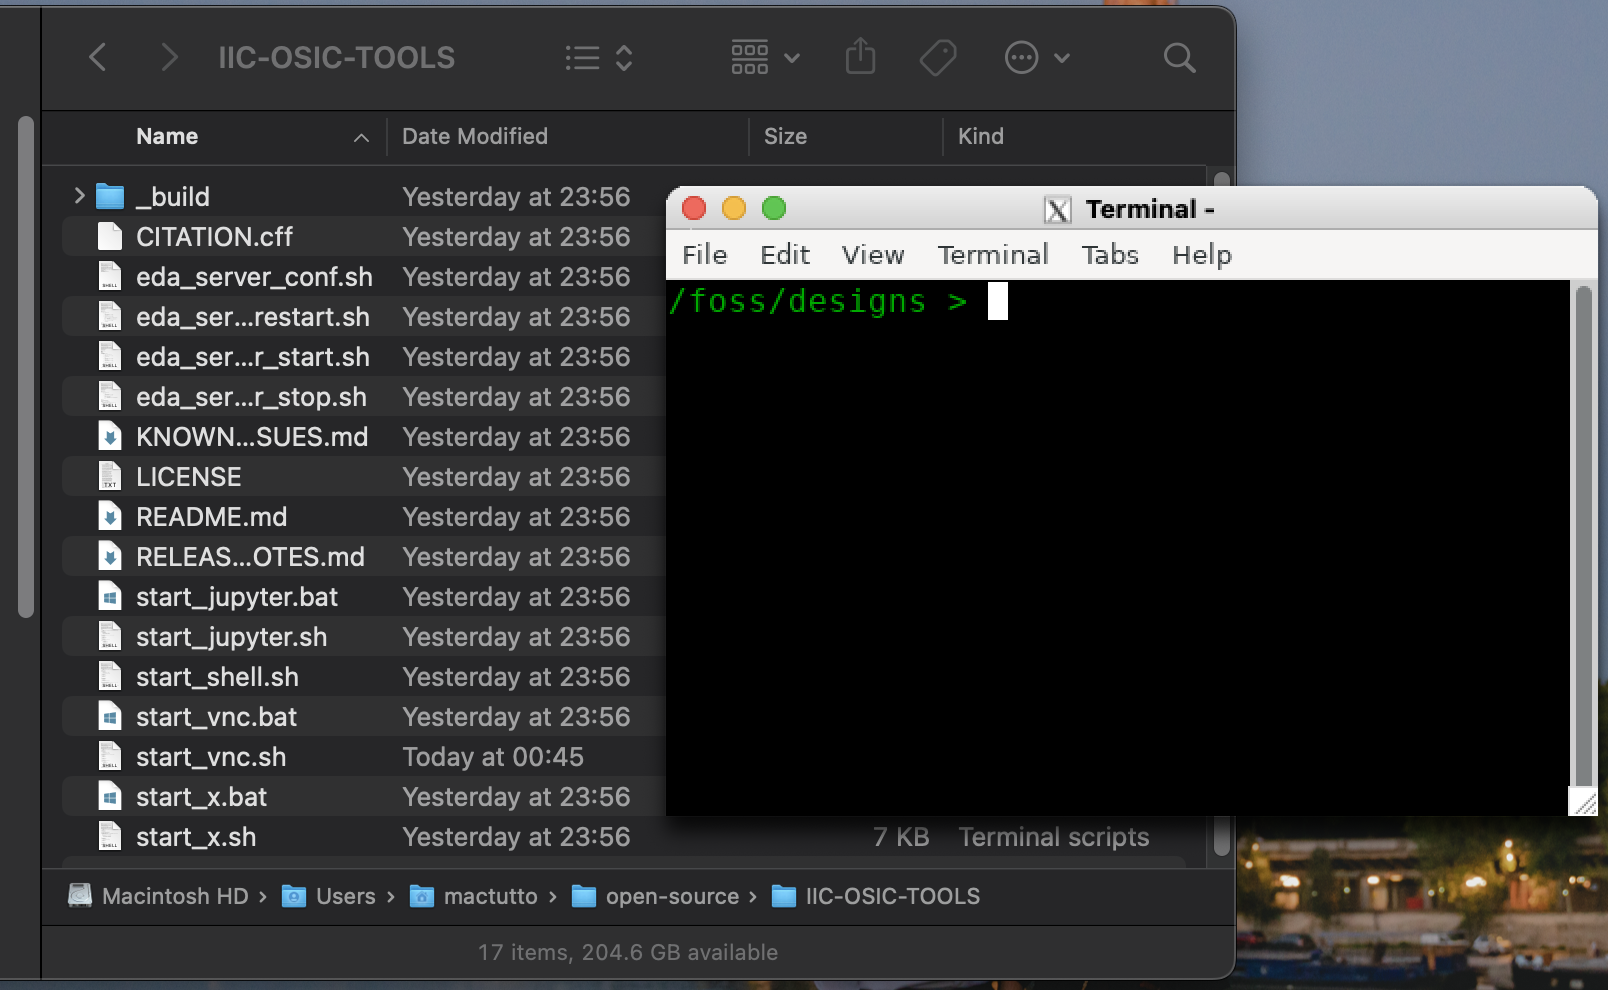
After git clone, you can check what are the loaded files by executing ls. You will find iic-osic-tools directory. Move in to that directory, and do ls again.
Okay, now it is all set. Please skip Windows Section and jump directly into VNC Section.
In Windows
Verified with Windows 10
Verified with Windows 11
Docker
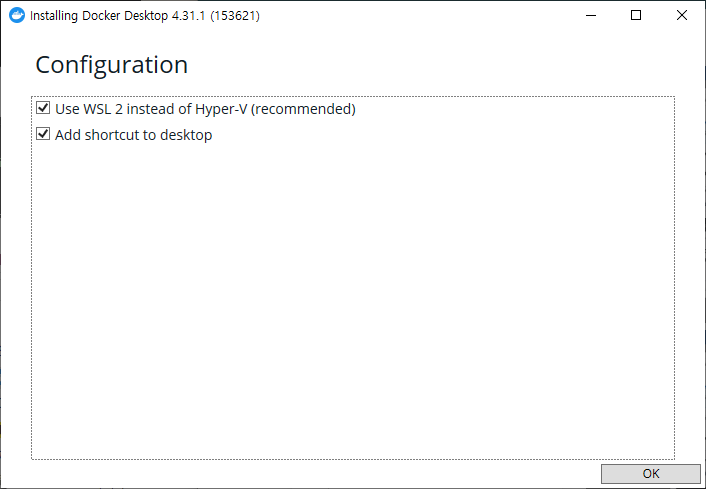
Similarly like MacOS case, install Docker from webpage. Enable Use WSL 2 .. during the installation.
We will use Windows Subsystem for Linux (WSL) later.
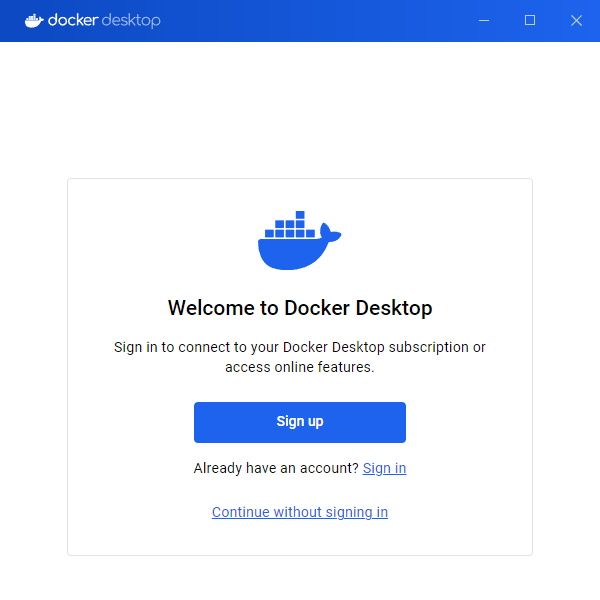
You can skip signing in by selecting Continue without signing in.
Search iic-osic-tools (with hpretl prefix) in Docker app, run Pull, and ensure you see the green check mark.
Be patient! This process can take several 10s of minutes depending on your PC.
WSL
Next, you have to install Windows Subsystem for Linux (WSL). I found a really helpful YouTube video for this. Please check and follow the instructions until 3:52.
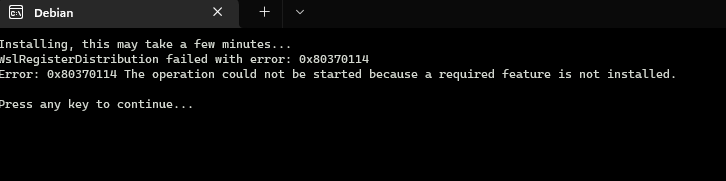
During the installation process, if you happen to see the above error, just restart your Windows and try again.
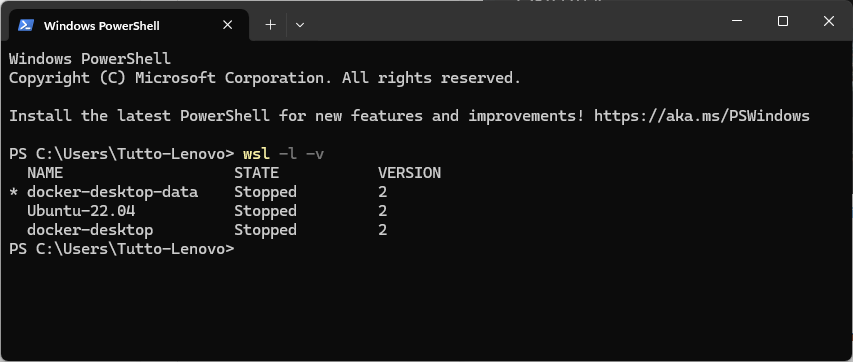
If you have done everything in the video until 3:52, open PowerShell by Start → Windows PowerShell. Run:
wsl -l -v
then you should see that your Ubuntu version is 2, like the below screenshot (you can ignore docker-desktop-data in the below screenshot).
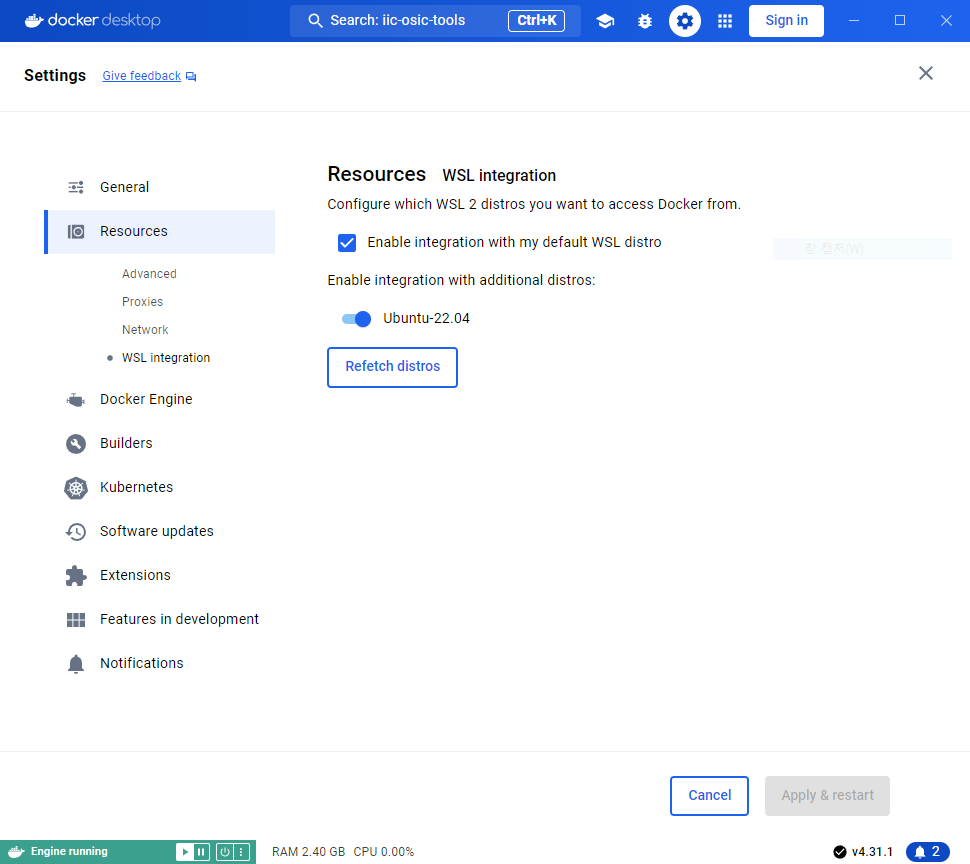
Open Docker and open Settings at the top menu bar. Go Resources → WSL Integration and enable Ubuntu-22.04. This will allow us to run Docker in Ubuntu WSL terminal.
VS Code
Next, install VS Code using This Link. VS Code is quite useful and needed because you have to work with Linux terminals in Windows, manage files, edit files, and run Python codes in Jupyter Notebook, which are all possible in a single program!
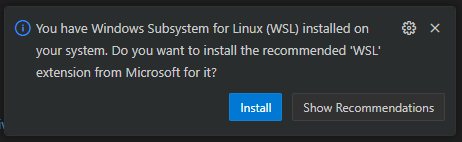
Open VS Code. If it asks to install WSL, install it.
Go Extensions (on the left panel), search Docker, and install it. Upon installation, you will see icon at the bottom of the left panel like the below screenshot.
MobaXterm
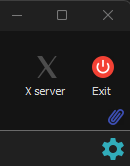
Many people use MobaXterm for SSH. What is good thing about this program is, it has a built-in X11 forwarding function. Its installation is also simple, so I recommend to install this program.
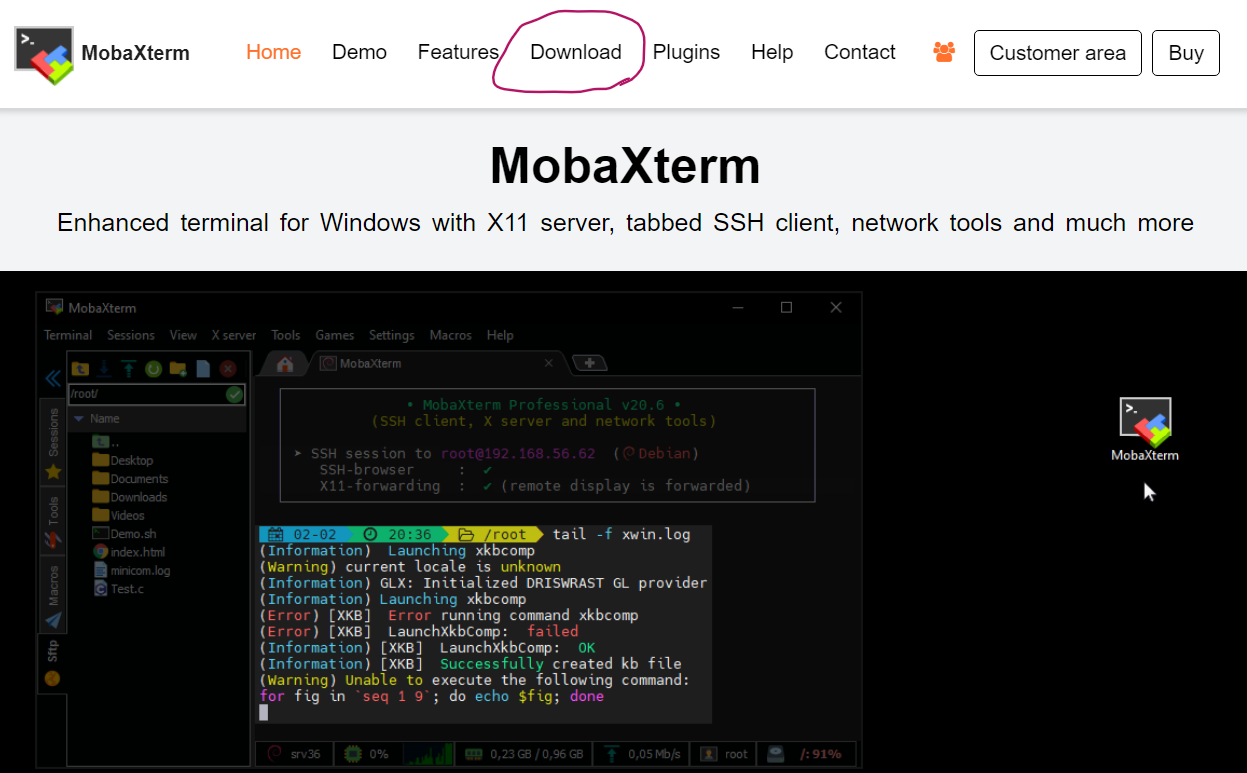
It is quite handy with the Portable edition, as it does not require us to go through the install process.
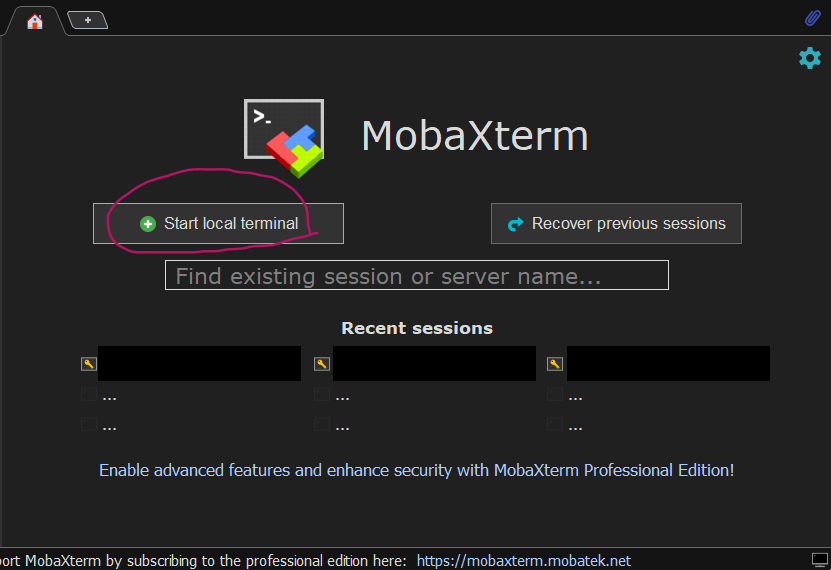
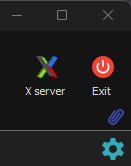
Open MobaXterm. You can see that the X Server icon becomes active like below screenshots (from left screenshot to right screenshot).
Open the local terminal and you can test whether your Windows has Git, by executing which git as also mentioned in MacOS Section (of course this action can be done in WSL terminal as well).
As shown below, if your Windows has Git, it will output the path like /bin/git. If not, it will output mark, like I searched amplifier for fun .

Git
We are now ready to play with Git!
Open VS Code, and open the built-in terminal by Ctrl + `.
Open a new Ubuntu WSL terminal like the below video.
Navigate to the IIC-OSIC-TOOLS Github page and find Code → Copy button.
Make a new folder with mkdir, move to that folder, and paste the copied URL after git clone like below screenshot.
Here, git clone is something similar concept of Download more or less.
You can click the wheel button of your mouse or Shift + Insert to paste into the terminal.
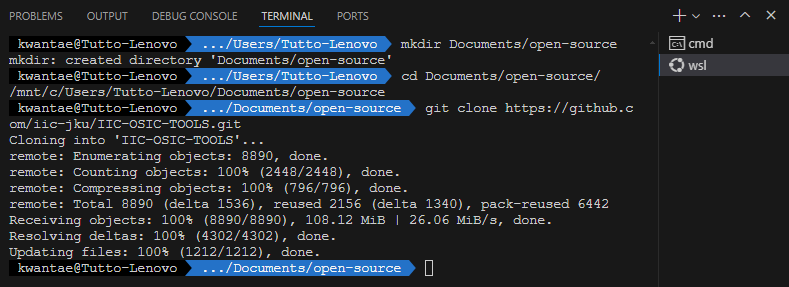
After git clone, you can check what are the loaded files by executing ls. You will find iic-osic-tools directory. Move into that directory, and do ls again. There seems to be several files, though you might be not sure what are they yet .
In addition, run sudo chmod 666 /var/run/docker.sock in your WSL terminal. It will allow us to run Docker by using WSL terminal.

VNC
From this step, all the process are same regardless of the OS you are using, MacOS or Windows.
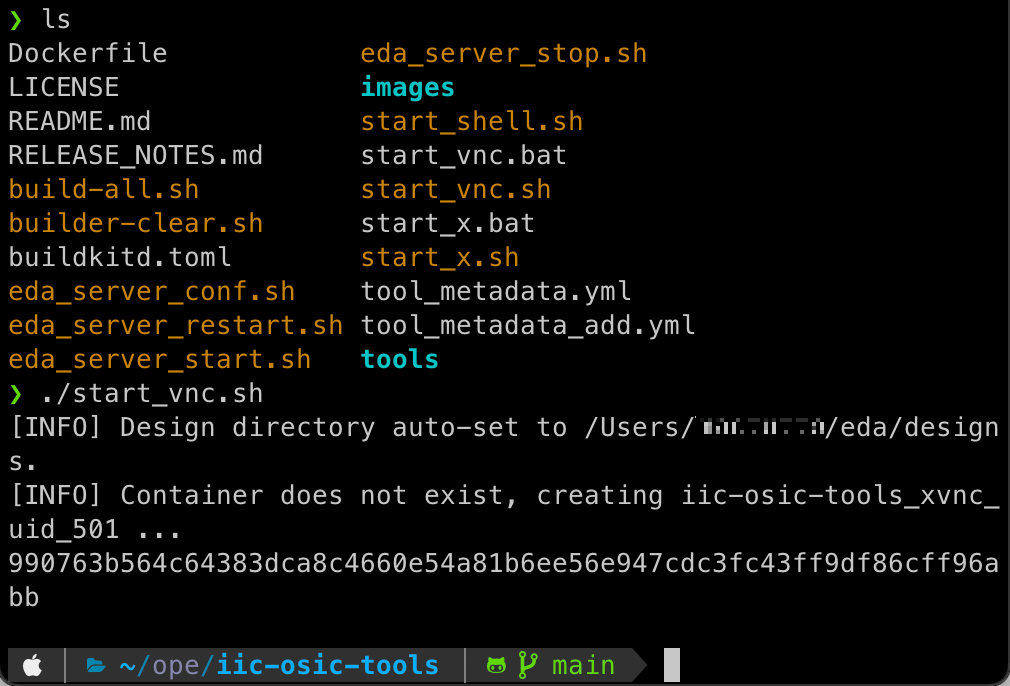
Execute ./start_vnc.sh like above. Here, ./ means that you are finding something that is located within your current directory.
Upon the very first time execution, you can see that the program says like:
I will make a new container as you currently do not have one!
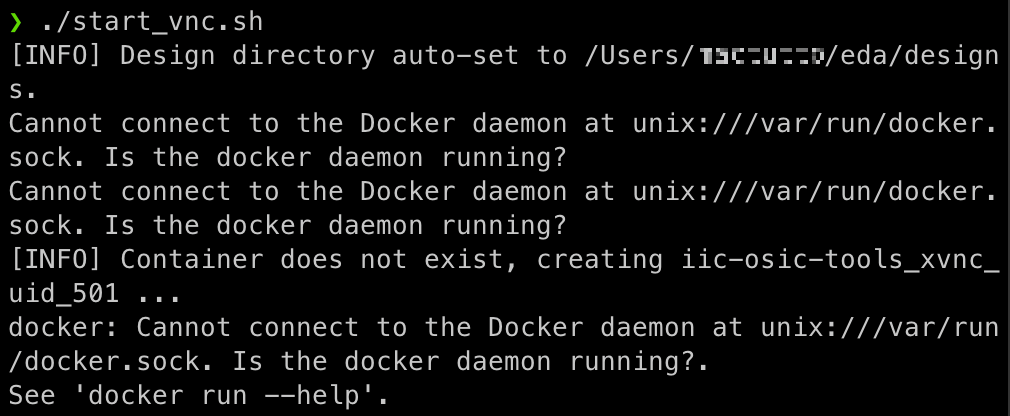
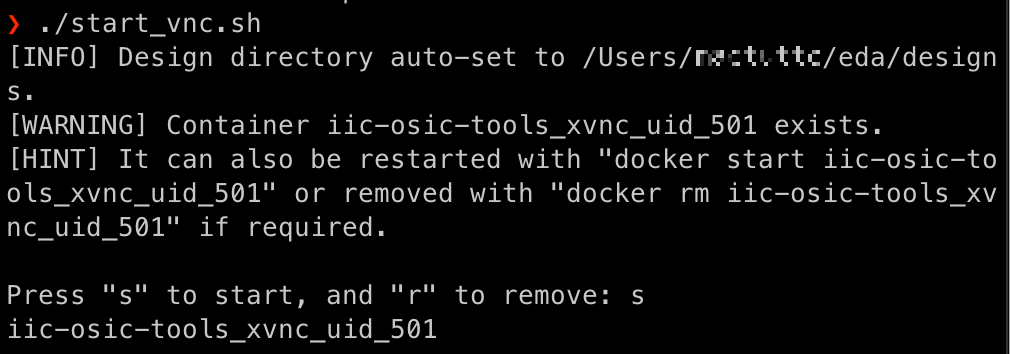
The above two screenshots show that even though you run ./start_vnc.sh but fails.
- The left case corresponds that the Docker is not running yet.
- Open Docker and execute
./start_vnc.shagain.
- Open Docker and execute
- The right case corresponds that
start_vnc.shfile is running background already.- Just press
sin this case. - If you happen to find a case showing
Press "s" to stopinstead ofPress "s" to start, presssand executestart_vnc.shagain.
- Just press
Login to VNC
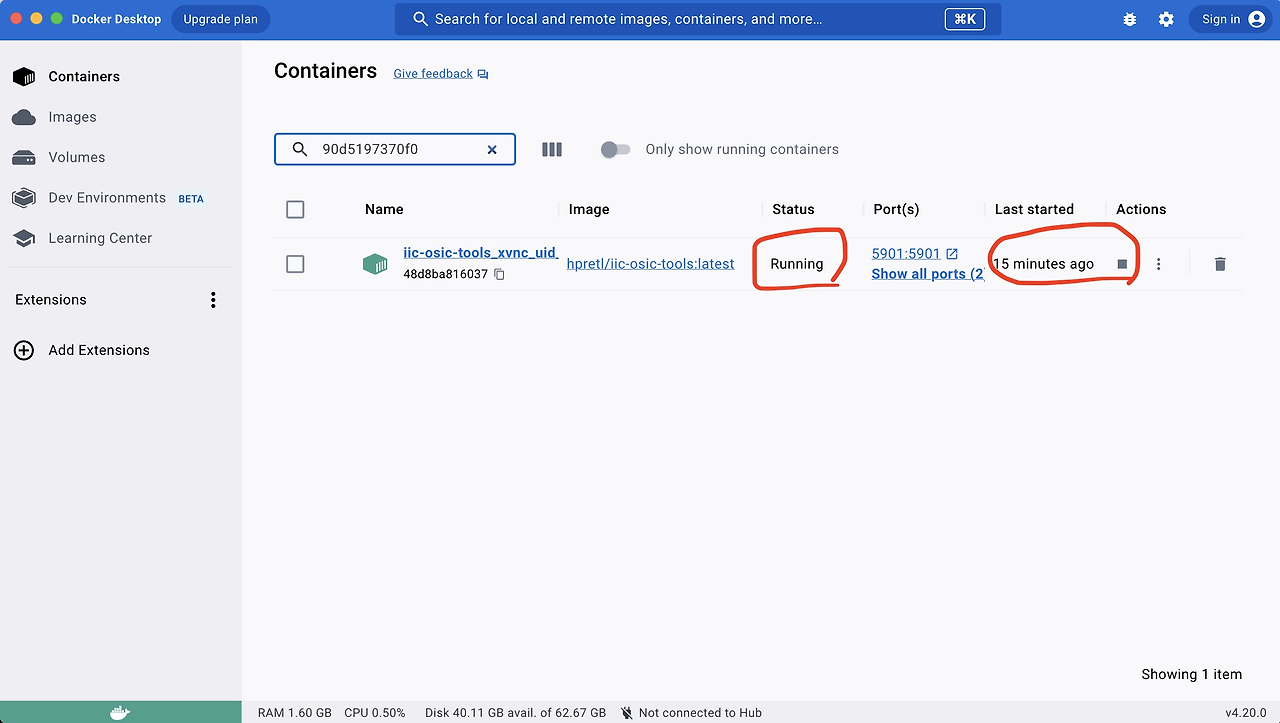
Go back to the Docker app and navigate to Container button on the left. You can find that VNC is now running.

At this point, you can just open any web browser ( Safari, Chrome, Edge, ..) and type localhost as shown above.

Then you can type password, which is abc123 by default.

Upon login, you now see the screen like above, left screen or right screen, though the desktop image can be different, sometimes it just shows a dark image.
Just rightclick the mouse and then you can check it works fine like below.

Problem
But, it has below problems which are better to be solved:
- Screen resolution does not match well, and sometimes the screen is cut at edges, which is disturbing like below video

- Because of this, we cannot fully utilize dual monitor, which is extremely critical for analog circuit designers! (especially for layout stuff) I believe many people will agree with this point
- Cannot see the mouse cursor in some cases
Instead, we can build X11 Forwarding as described below.
X11 Forwarding
Again, from this point, the method is universal and thus it does not matter whether you are using Windows or MacOS.
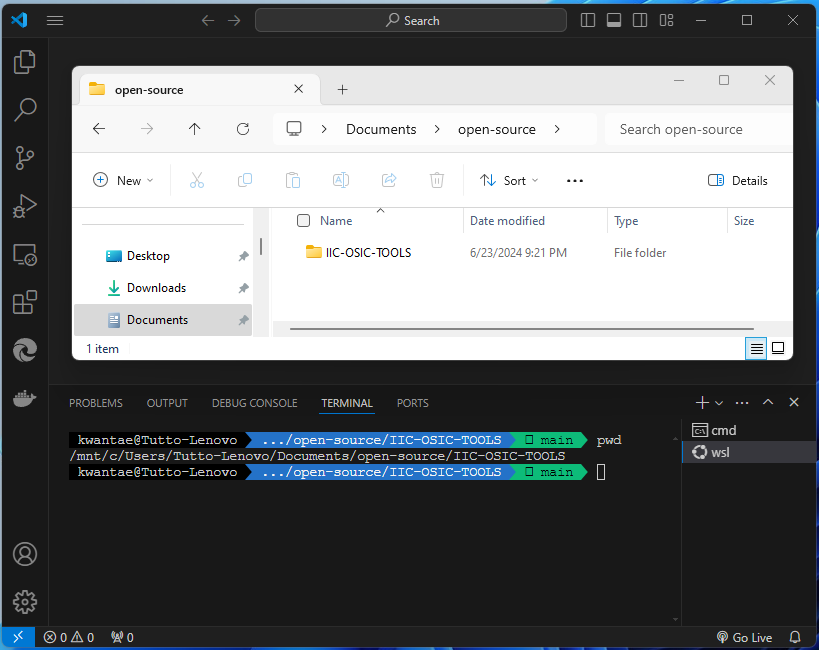
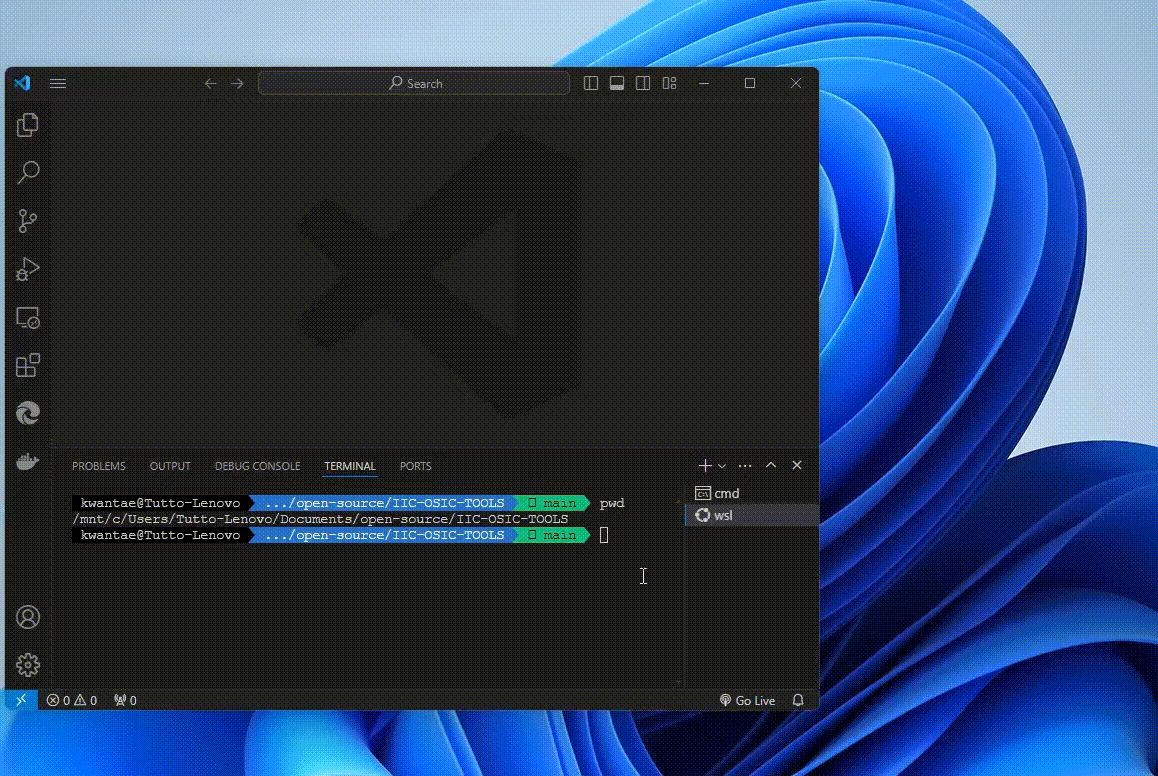
As shown above, I git cloned iic-osic-tools under Documents/open-source folder.
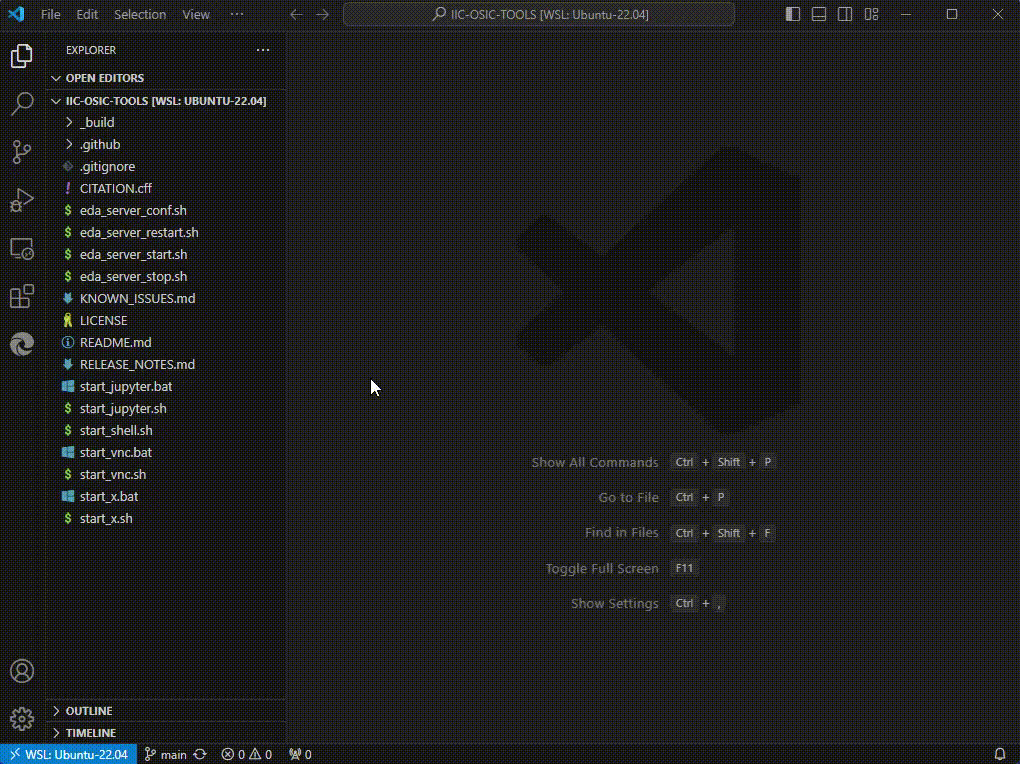
Move to that folder, and run code . on terminal like below video. Then you can see the files within iic-osic-tools folder on your left.
Display
Do the following as shown in the above video:
- Open
start_vnc.shfile - Search
PARAMS - Assign
${PARAMS} -e DISPLAY=host.docker.internal:0toPARAMS
Design Path
- Assign your working directory to
DESIGNS- In Windows, your path
Documents/open-sourcein Windows is automatically mounted to/mnt/c/Users/{your username}/Documents/open-sourcein WSL. For simplicity, I recommend to use the path underDocumentsfolder - In MacOS, any path you want can be used
- In Windows, your path
- Save
start_vnc.sh
Rebuild Container
- Delete the remaining Docker container as shown above video
- Turn on the X11 Forwarding function. If you do not make sure your X11 Forwarding is enabled, the Docker container will be immediately terminated!
- In Windows, you can enable X11 Forwarding by simply opening MobaXterm and leave it opened. Check whether X Server is active on your upperright corner
- In MacOS, you can enable X11 Forwarding by simply opening XQuartz and leave it opened.
Runxhost + 127.0.0.1on yourXQuartzterminal and try again if your Docker does not open the terminal.
- In Windows, you can enable X11 Forwarding by simply opening MobaXterm and leave it opened. Check whether X Server is active on your upperright corner
- Run
./start_vnc.sh- in WSL terminal for Windows
- in terminal for MacOS
If you follow the above steps, you will see a new terminal pops up like below screenshot.
Windows
MacOS
Yes! 🎉 Ta-Da! We are all set!

You can find that the current directory is foss/designs by default. Here is the hierarchy of directory:
/foss
/foss/designs   # linked to the host OS
/foss/examples
/foss/pdks
/foss/tools
Note that /foss/designs is mount to ~/eda/designs by default. Like the below screenshot, for example in MacOS, any file put in ~/eda/designs path is synchronized with foss/designs path. Similarly in Windows, since we are working on WSL terminal you can check the linked folder by moving to ~/eda/designs folder (ex. run cd ~/eda/designs).

Once you have done these steps, you can open the Docker terminal using Docker app, if you turn on the X11 forwarding, as shown in the below video!


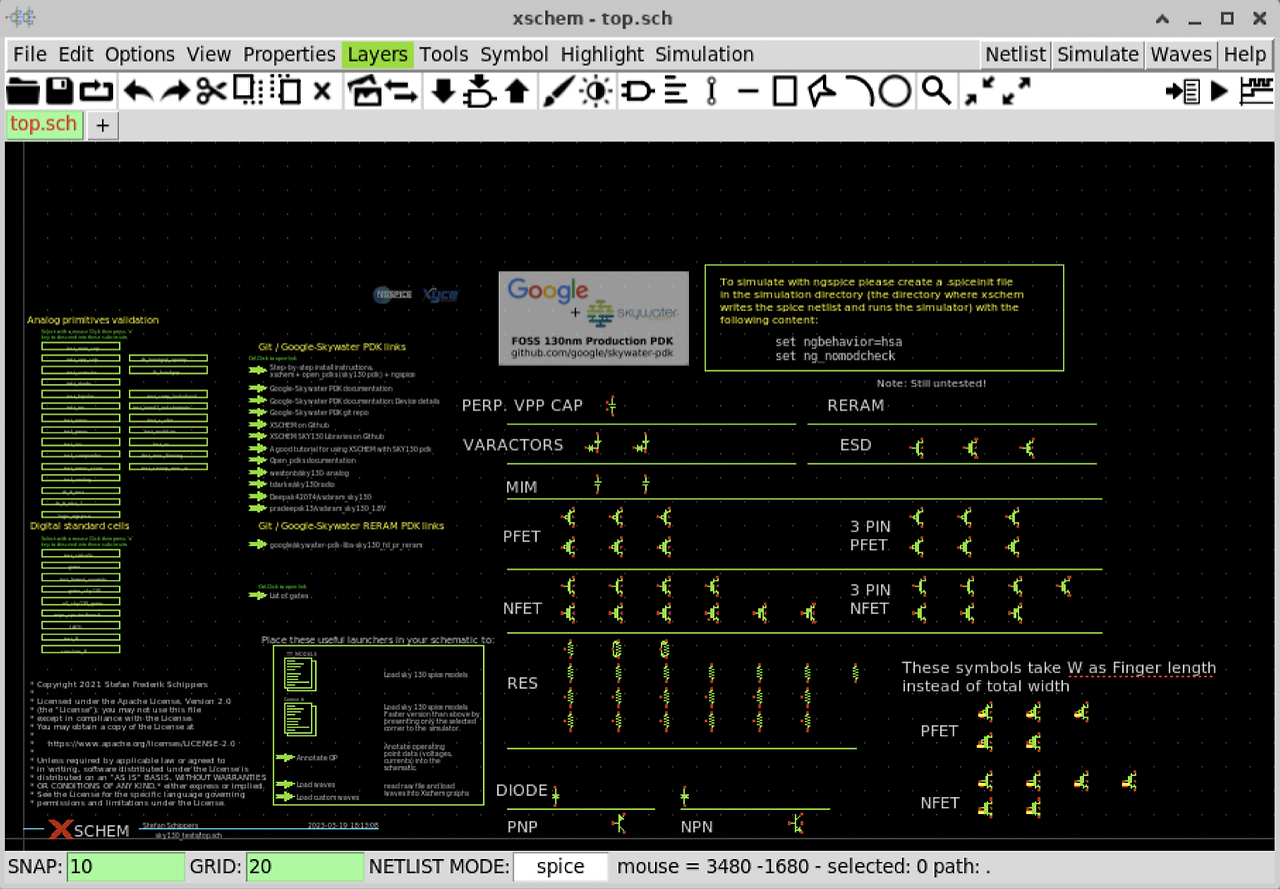
Xschem
If you are an Analog Circuit Designer, you probably want to view the GUI-based screen first
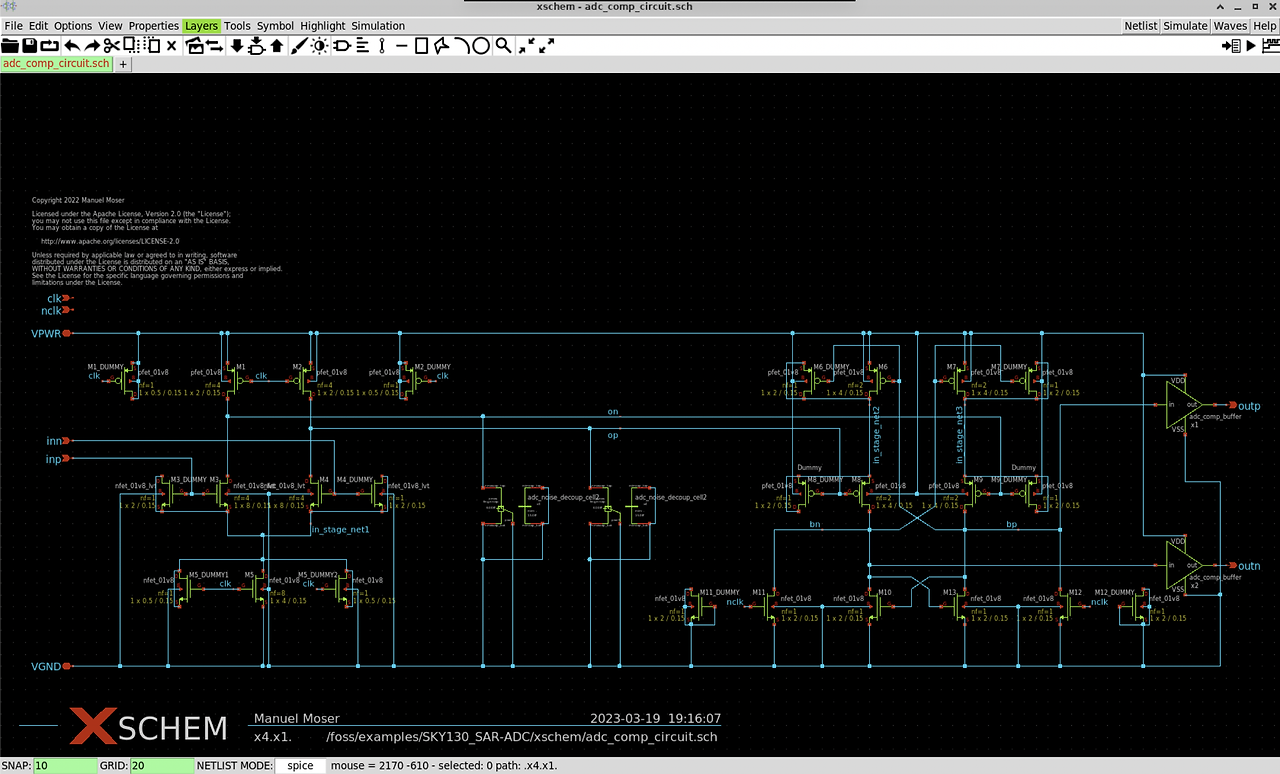
Xschem is an open-source IC design tool similar to schematic editor within Cadence Virtuoso. You can open Xschem by executing xschem in terminal.
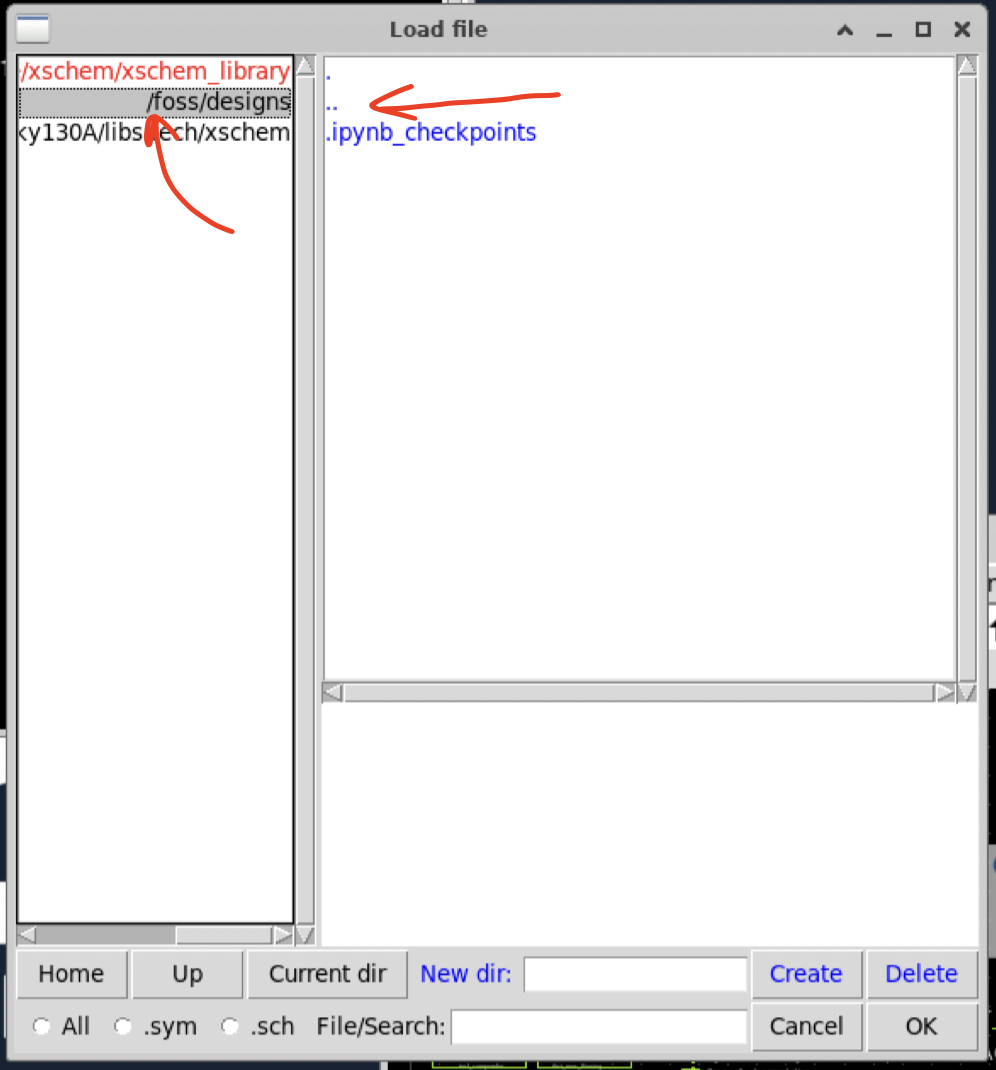
Go File → Open, select /foss/examples, choose .., then you arrive /foss.
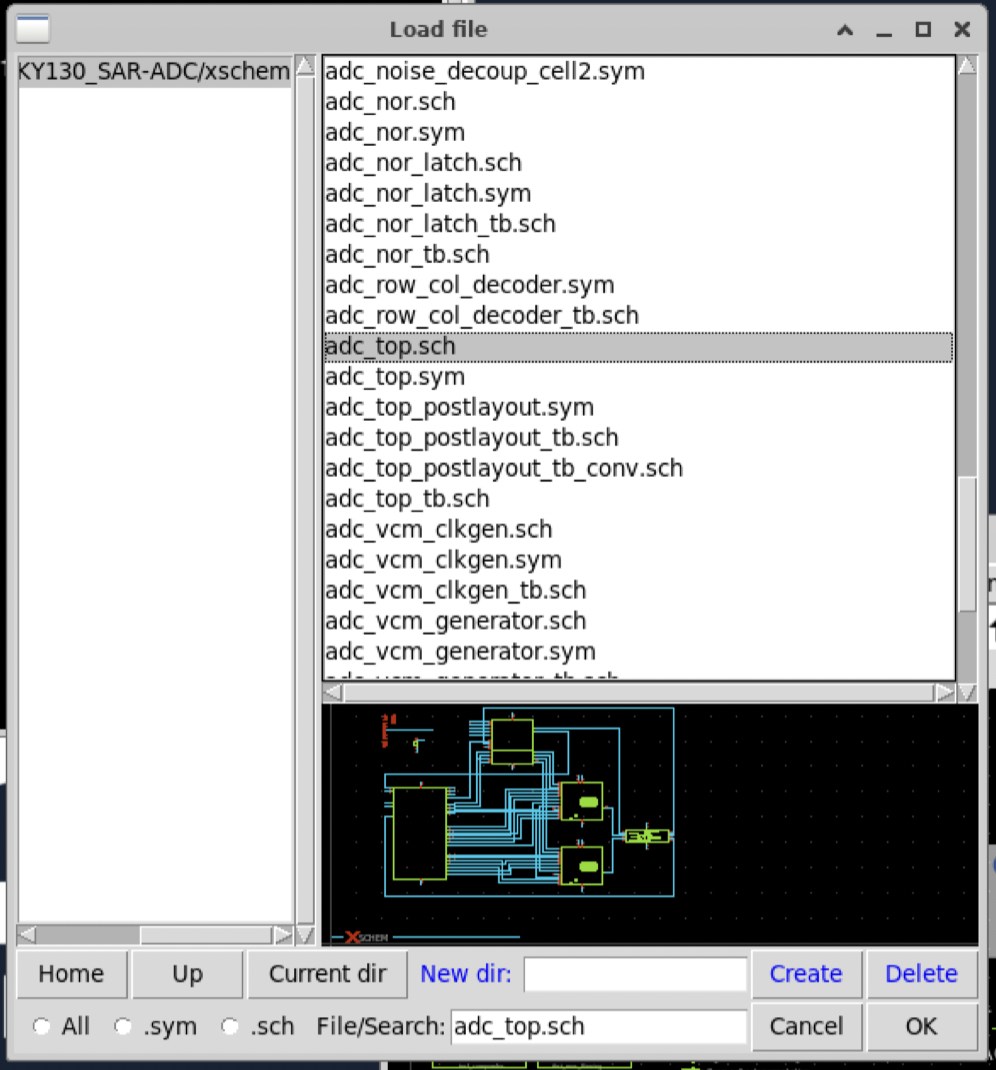
Then move to examples → SKY130_SAR-ADC → xschem. Open adc_top.sch.
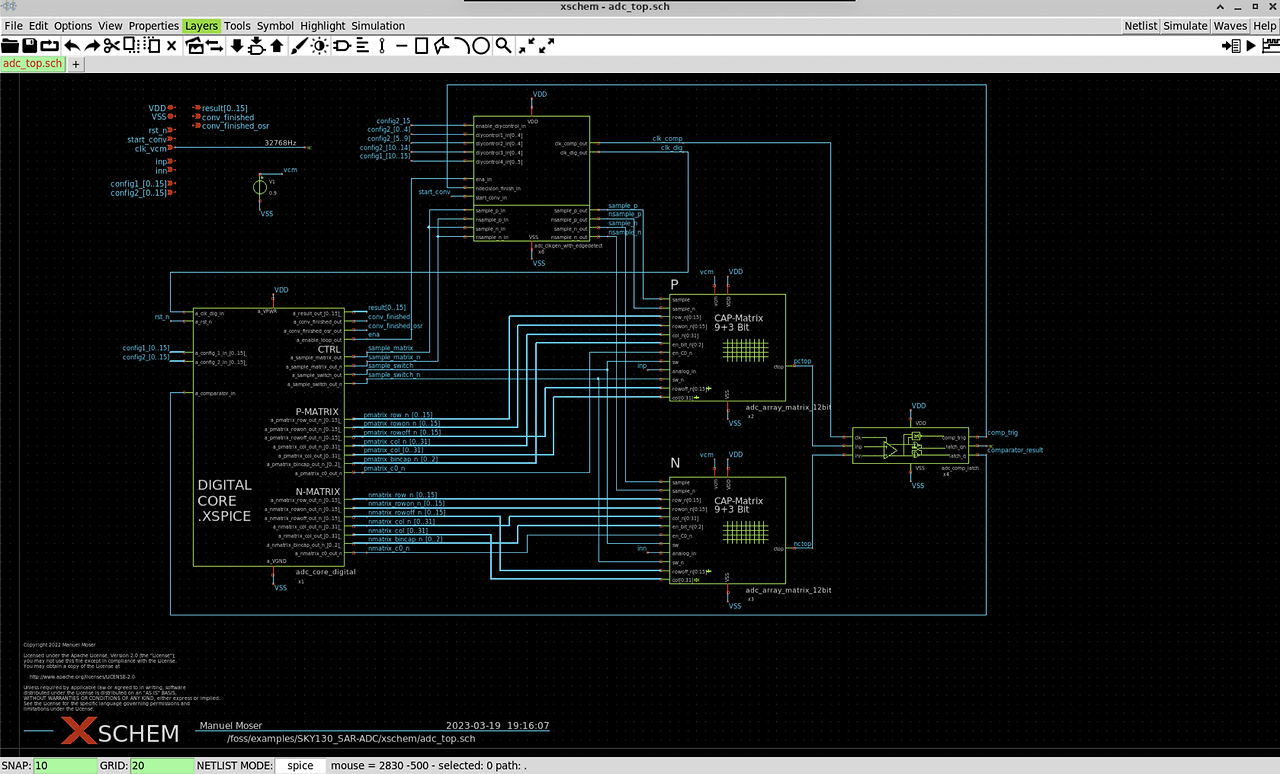
As you open it, you can see the top schematic of a SAR ADC design. Like Cadence Virtuoso, shortcuts are working:
| F | Screent Fit | ||
| E | Descend | ||
| Ctrl + E | Asend |
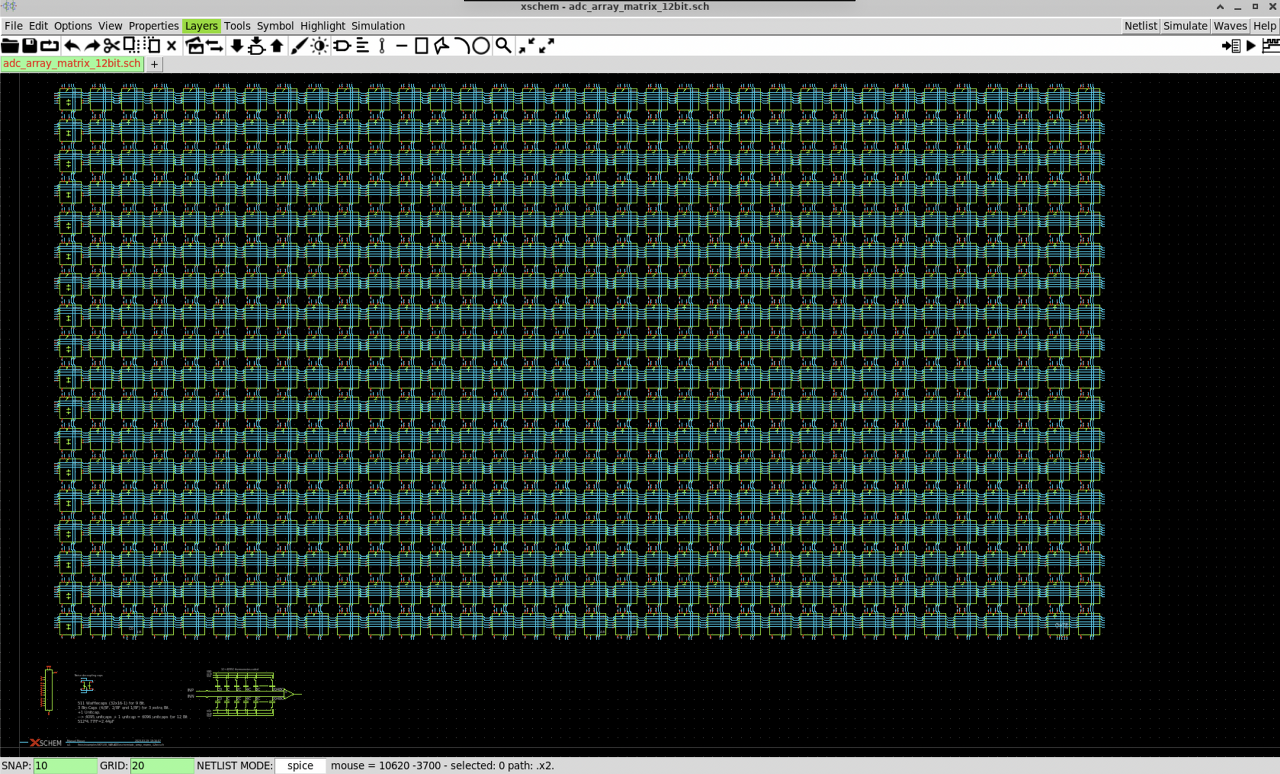
As you explore the design here and there, you will find comparator, capacitor DAC, etc.
Switching PDKs
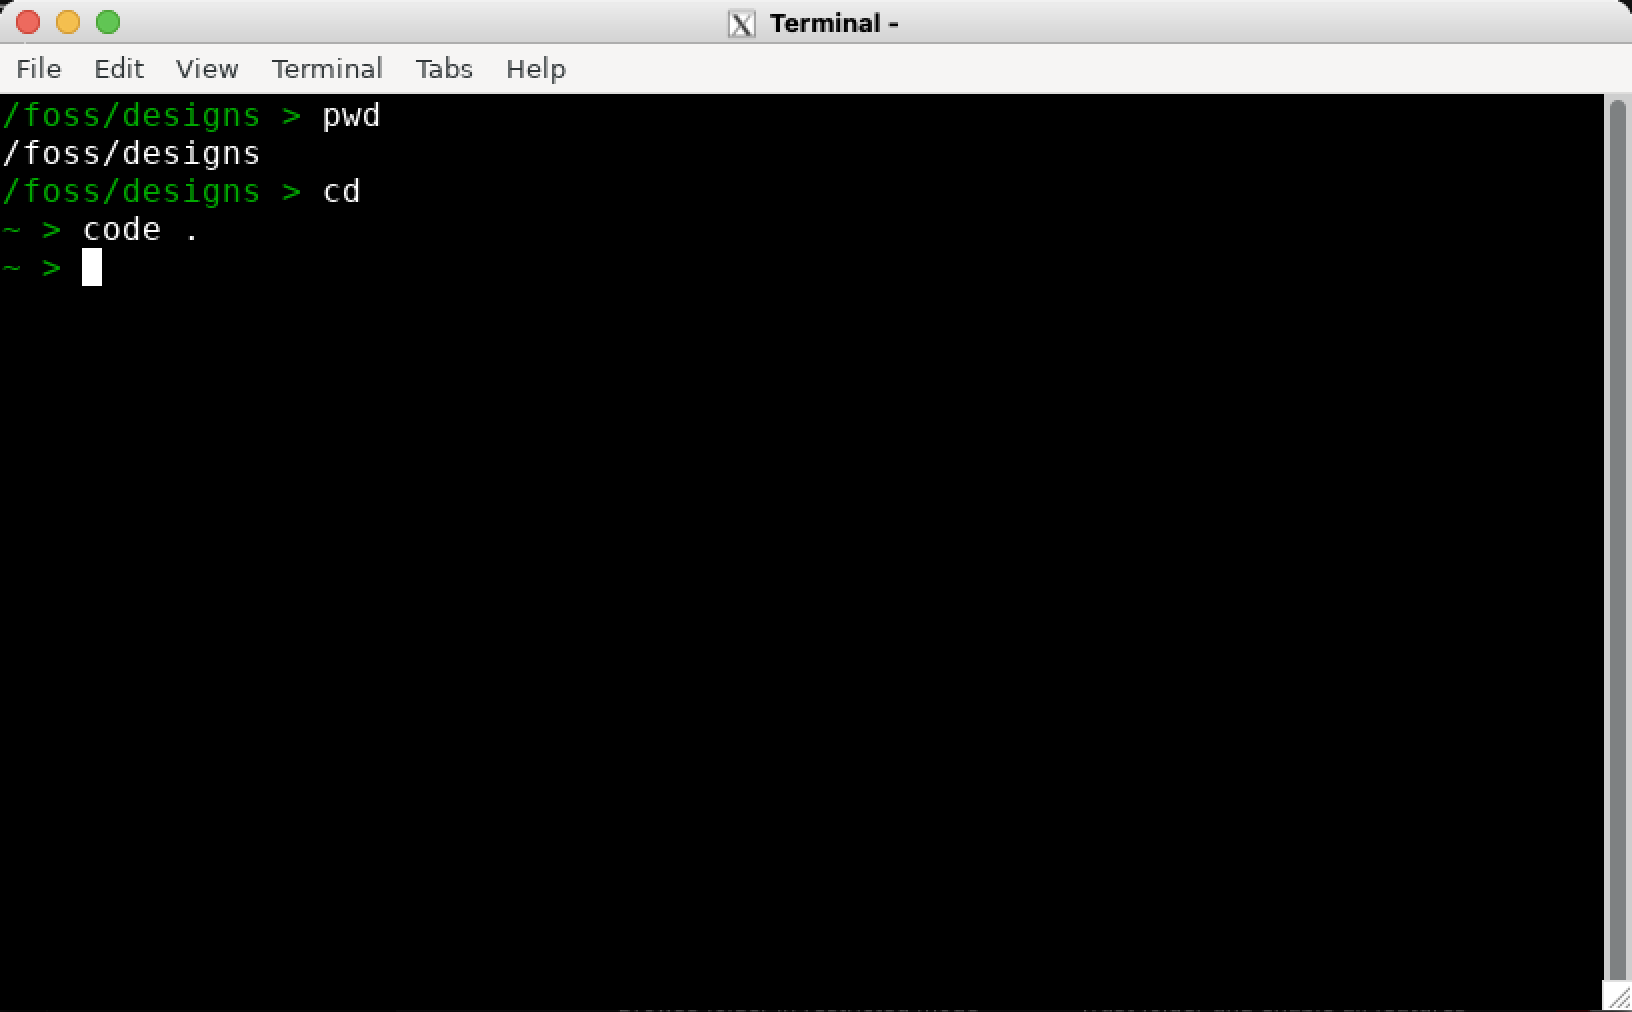
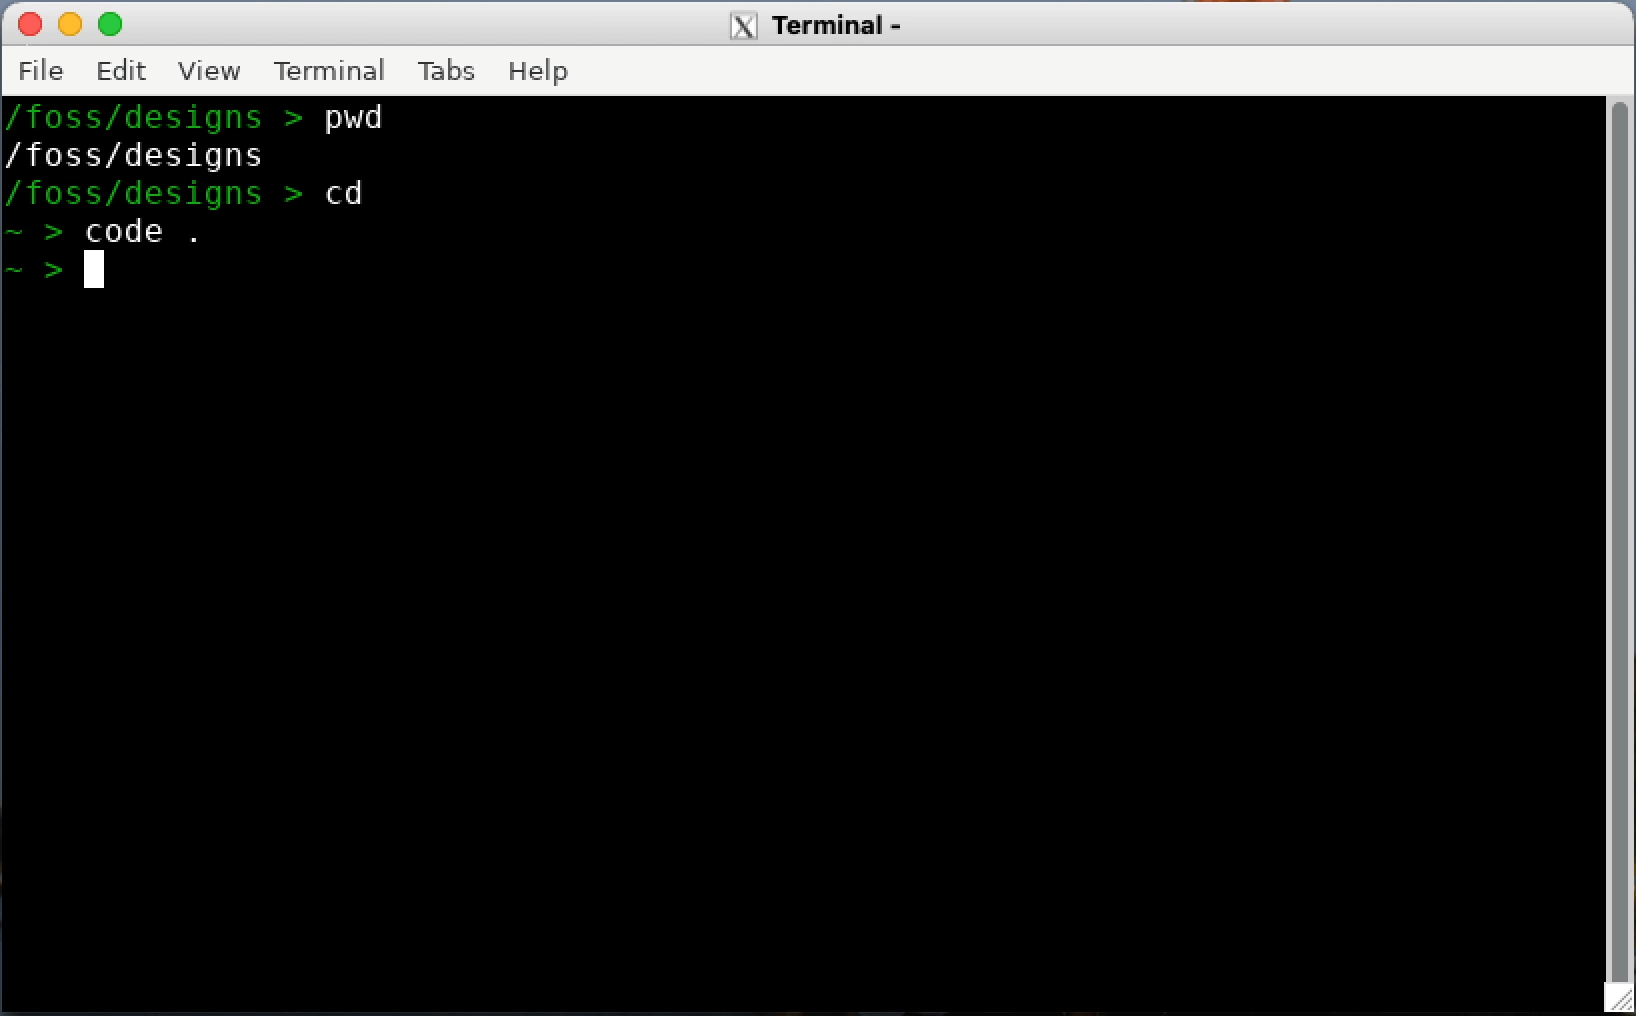
Move to home folder by running cd only, which is equivalent to cd ~/, ~ means home folder.
After that, run VS Code within the Docker code .
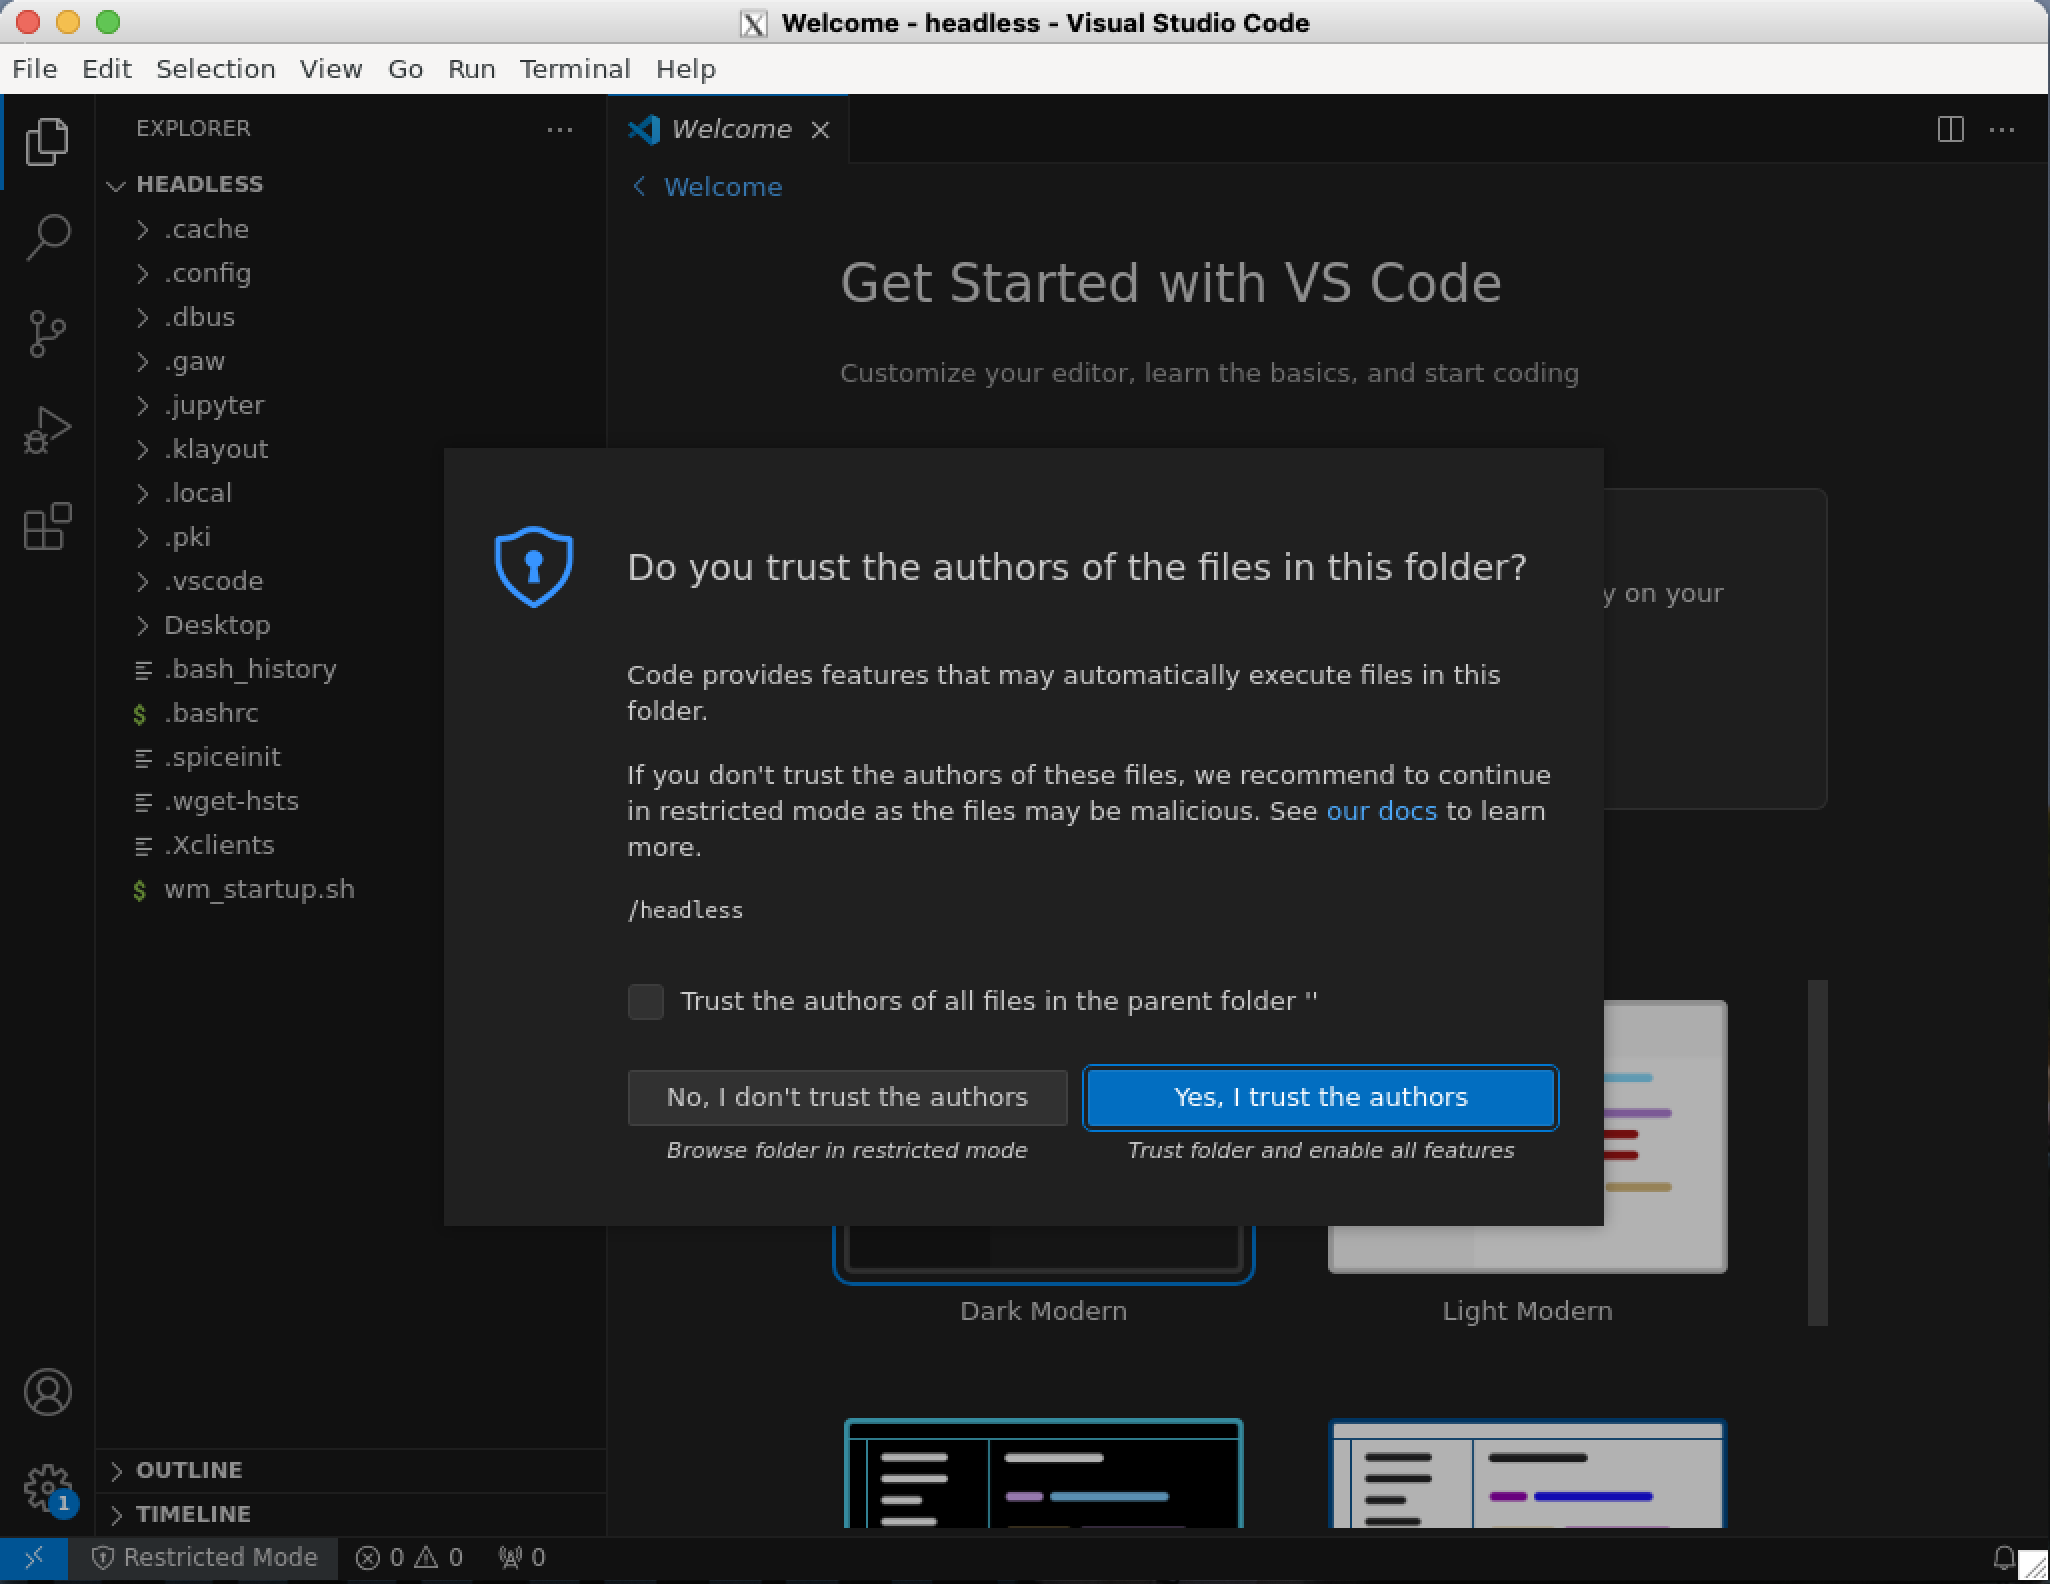
If it asks whether you trust or not, click Yes, I trust the authors.
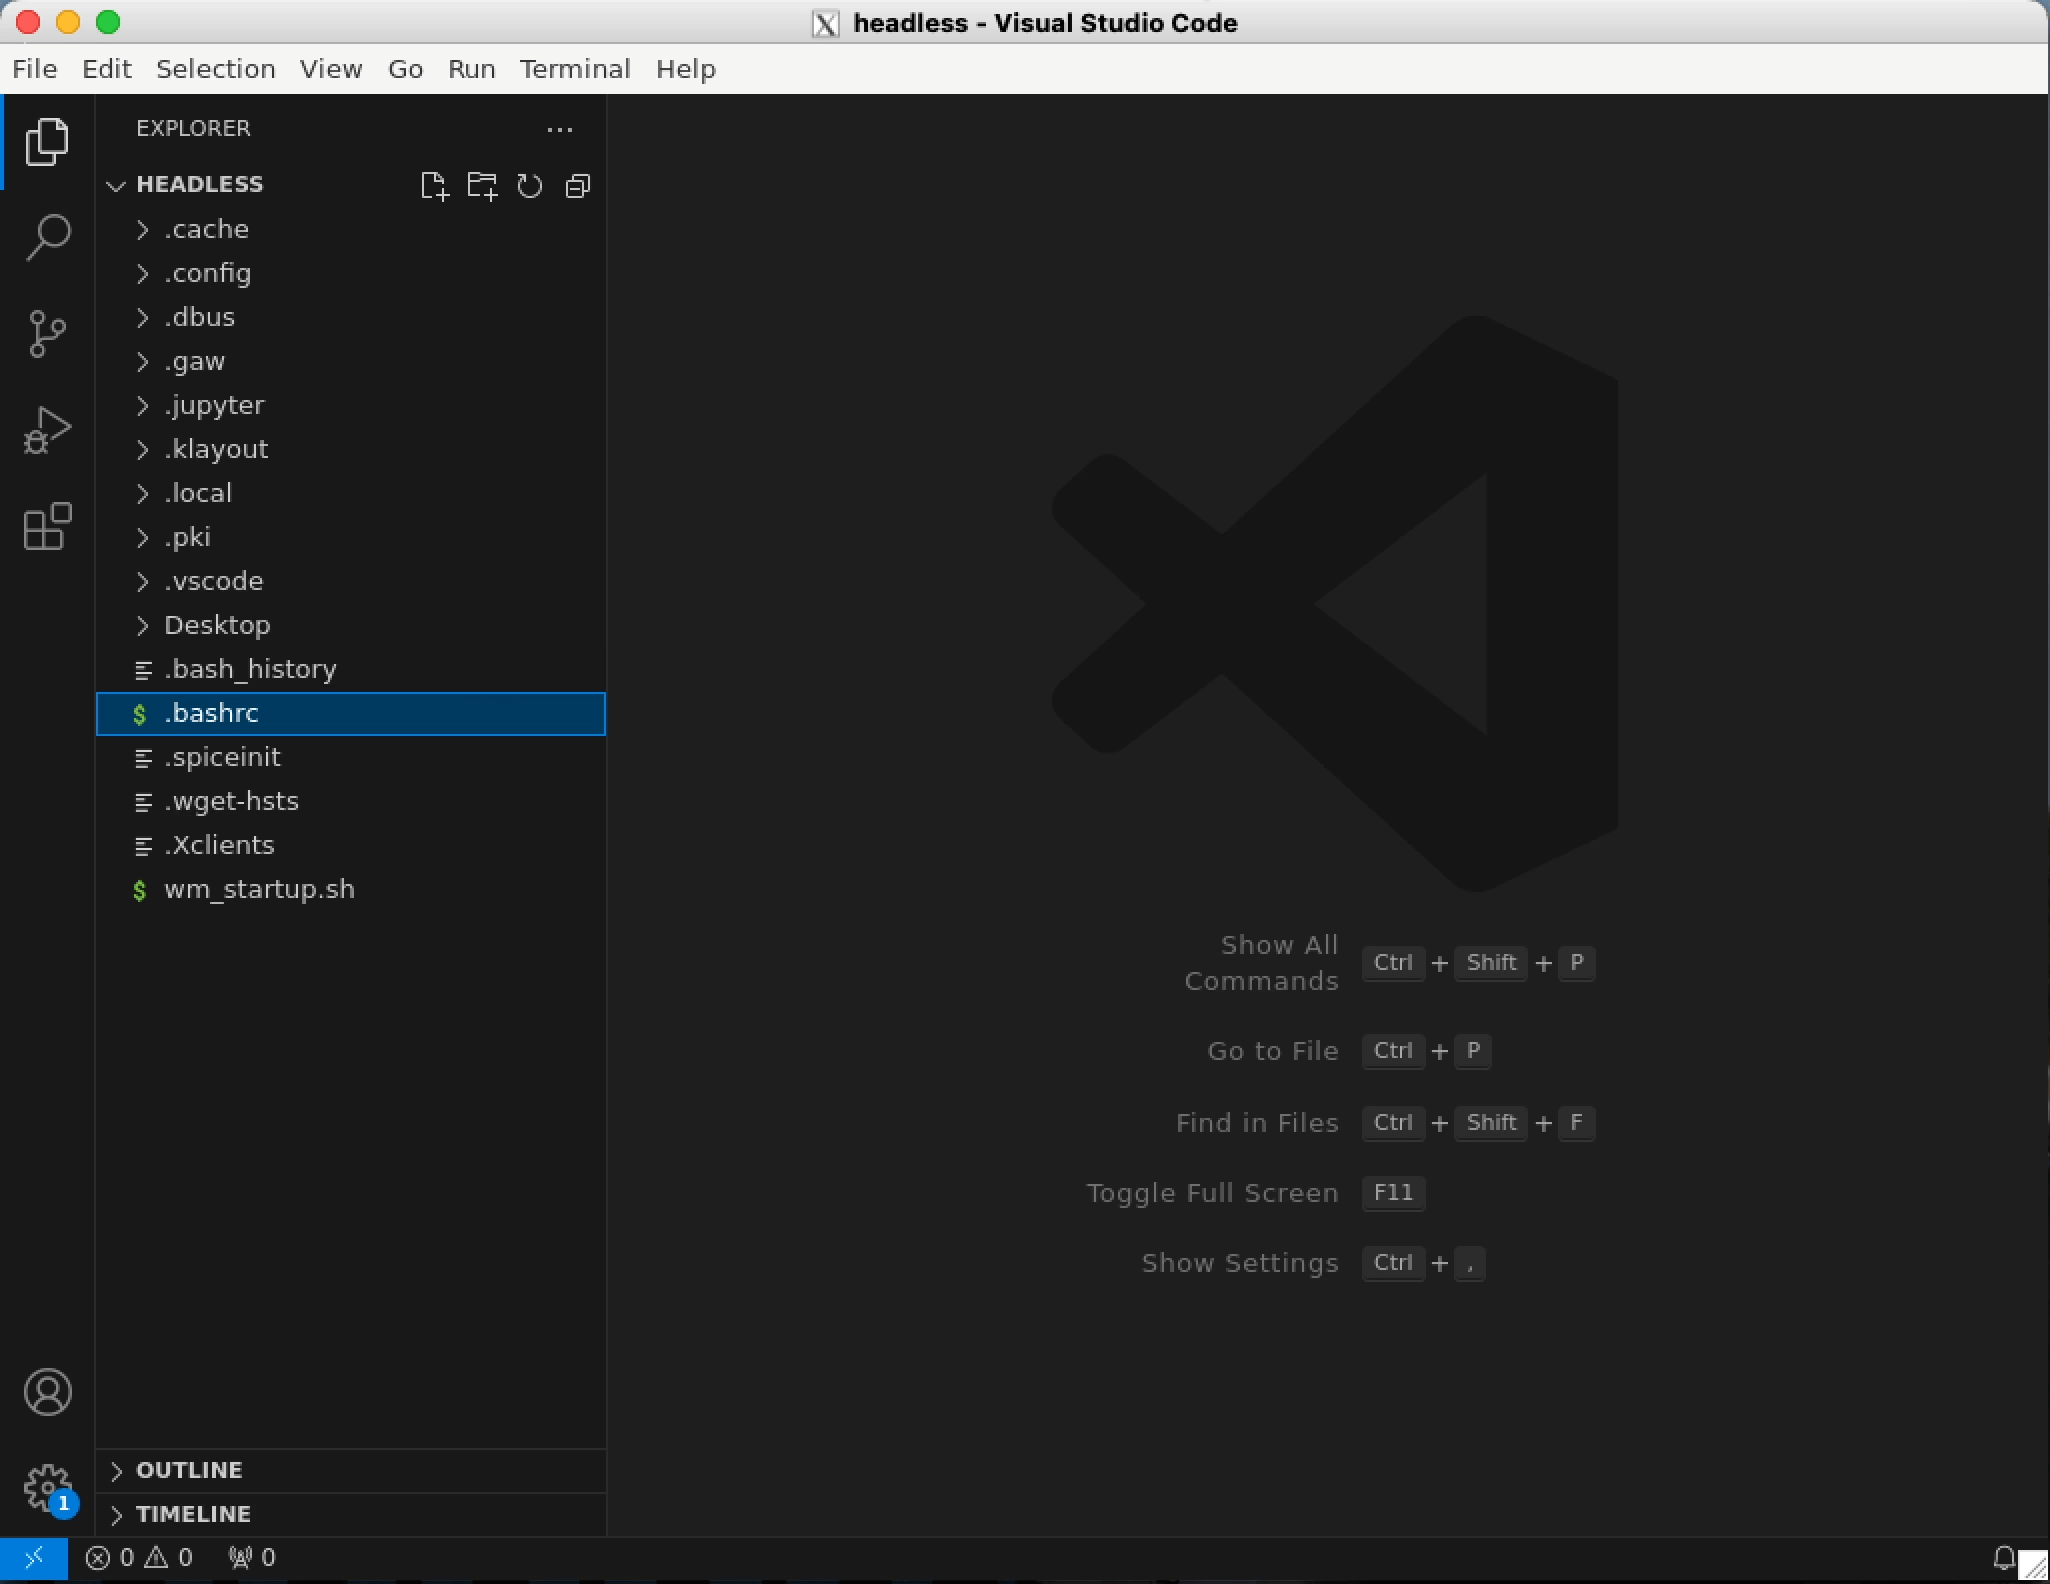
As shown above, edit .bashrc to switch different PDKs between sky130 and gf180 and save it.
| SkyWater 130nm | Global Foundries 180nm |
|---|---|
| export PDK = sky130A | export PDK = gf180mcuC |
| export PDKPATH = $PDK_ROOT/$PDK | export PDKPATH = $PDK_ROOT/$PDK |
| export STD_CELL_LIBRARY = sky130_fd_sc_hd | export STD_CELL_LIBRARY = gf180mcu_fd_sc_mcu7t5v0 |
Okay, now open a new terminal to ensure your new .bashrc file affects your PDK setting. Like above, we can see that xschem is set to gf180 in the new terminal while the earlier terminal is still set to sky130. You can switch anytime by properly setting your .bashrc file.
Be careful! Any bash terminal prettifier which modifies .bashrc may mess up our PDK setting! (ex. oh-my-bash)
Do not try to install bash prettifier
So, yeah! The tool setup is all done!

Acknowledgments
Thanks to Sheng Zhou for helping me to verify the tutorial flow!